IDE Functionality
Getting Started with the TokenGo IDE
The TokenGo IDE is a powerful tool for creating and managing your own cryptocurrency tokens on Kadena Blockchain. Follow these steps to get started:
Prerequisites Before we start generating our token on testnet
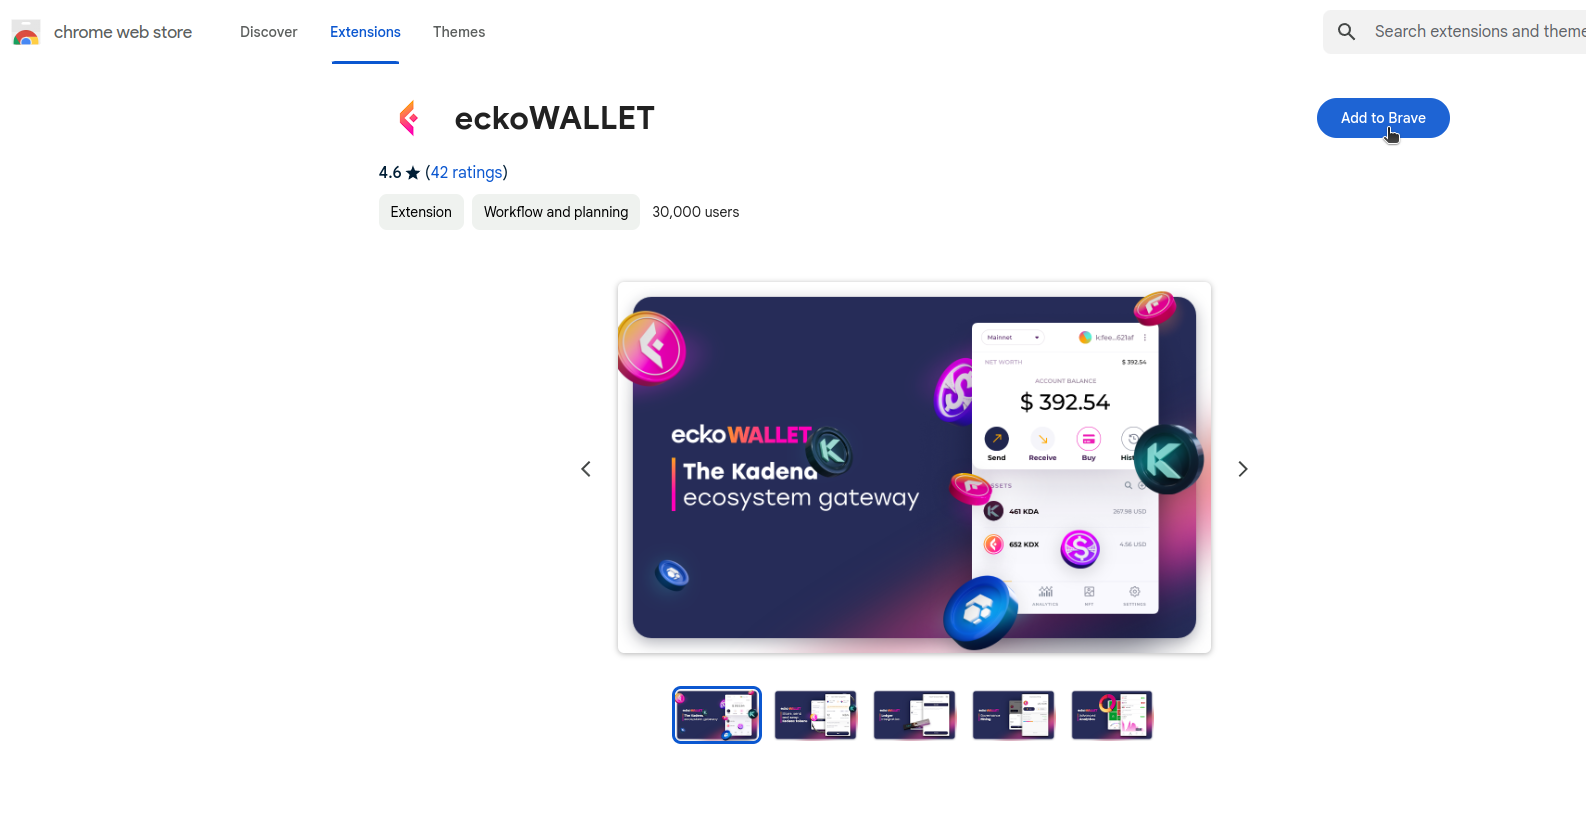
First we download the eckoWallet extension from chrome web store. then we create our kadena account.
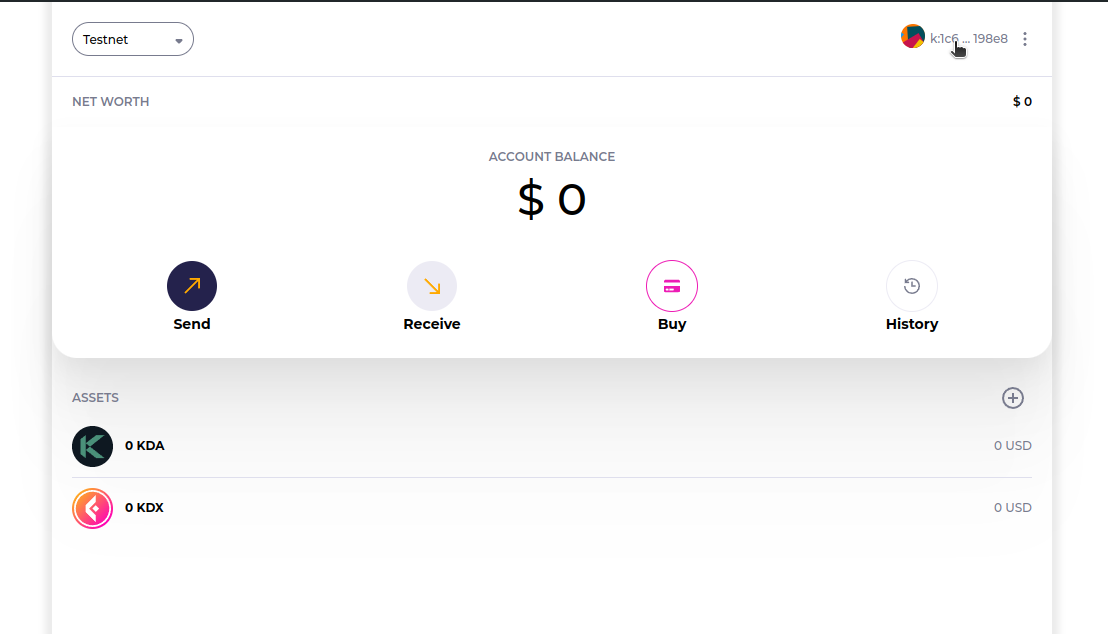
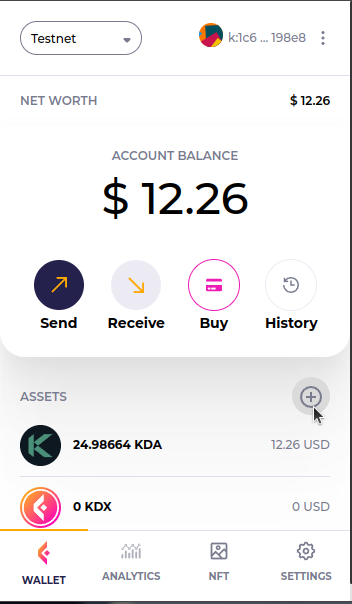
After creating our wallet, we need to set the wallet network to ‘testnet’ on the top left corner and copy the account name starting with “k:” by clicking on it.
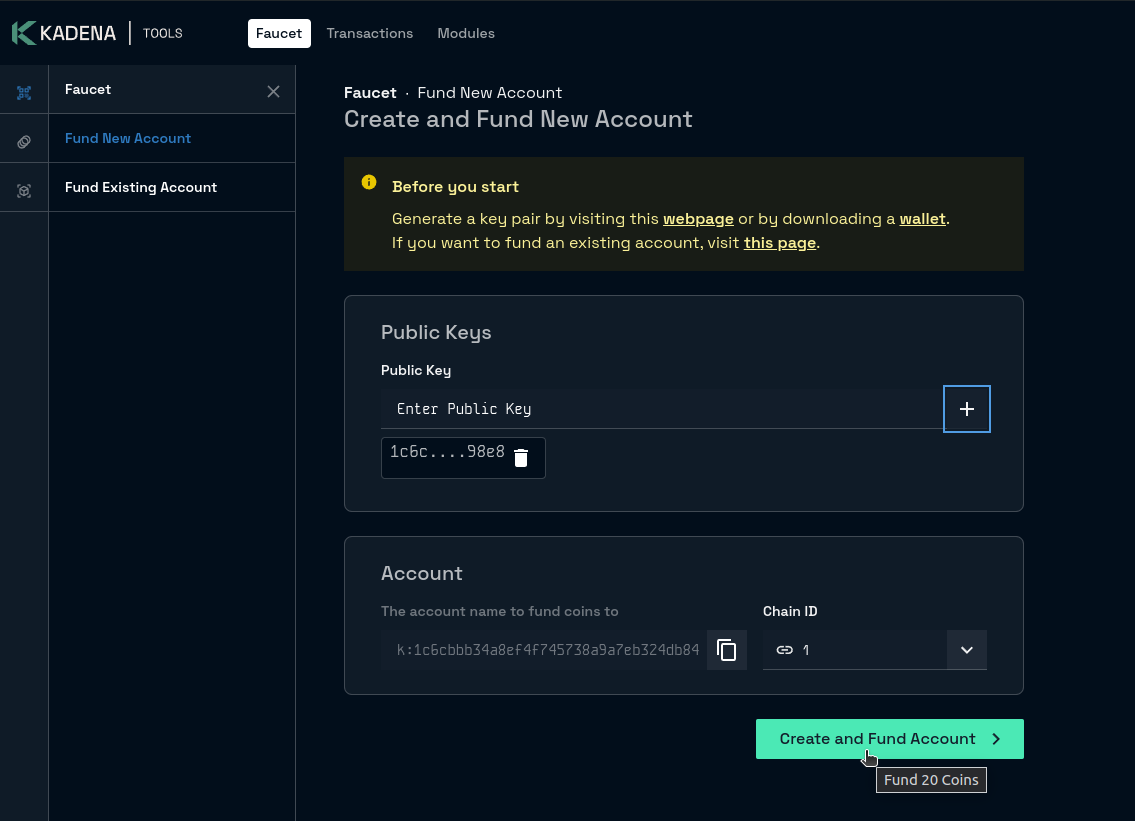
we must need some test KDA to test our IDE, so we go to Kadena faucet , then we paste our account name in public key feild and delete “k:” from the account name and click on plus (+) button, then we can see our account name and chain Id selected to chain 1. Now we press ‘Create and fund account’, it will submit a transaction for us on the blockchain and give a request key.
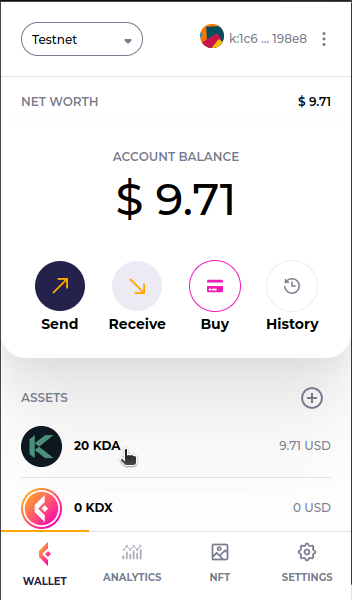
After confirmation we return to our eckoWallet extension and now we can see 20 KDA appeared into our Wallet.
prepareing ecko wallet for testing
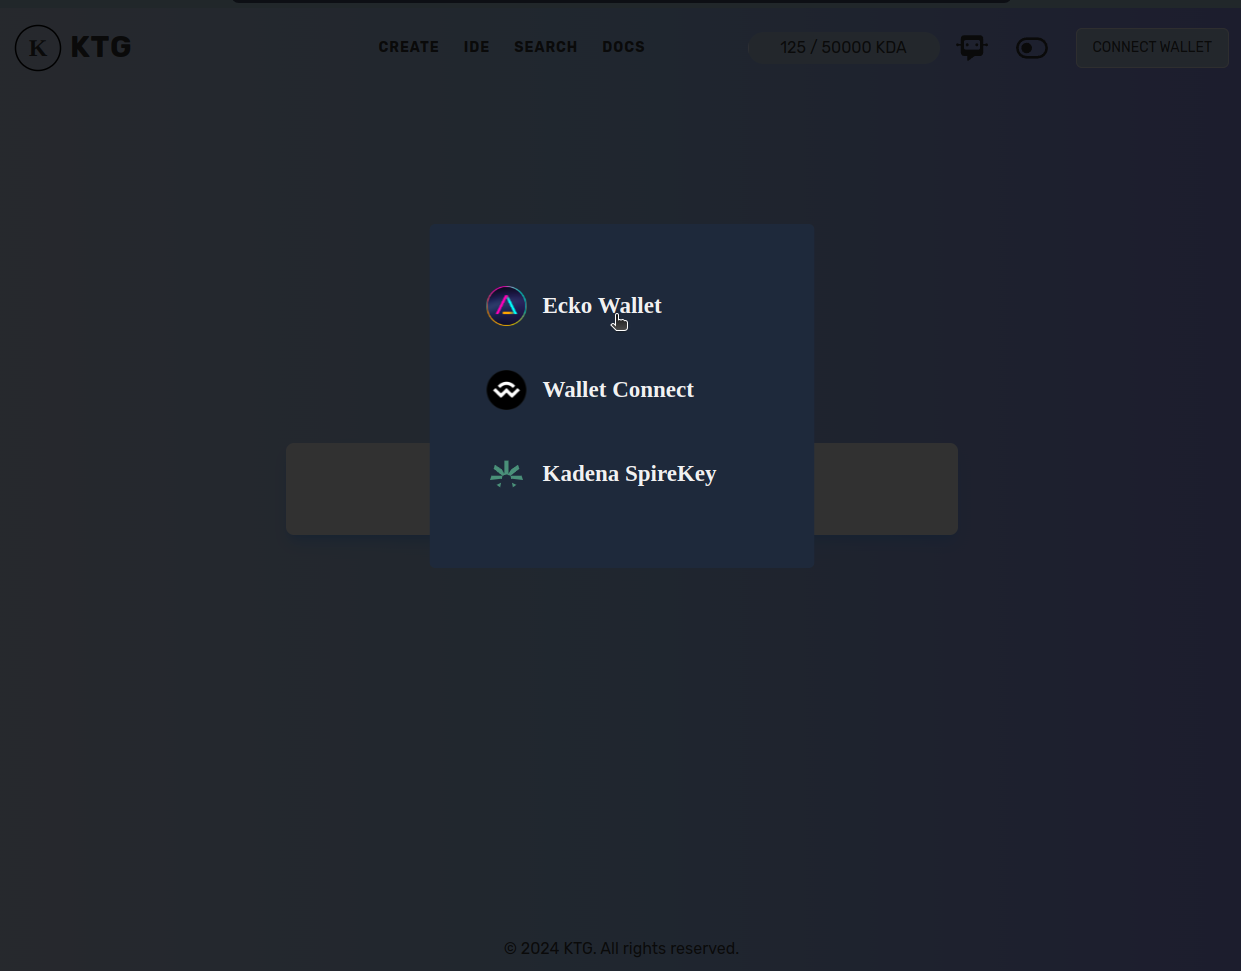
Now as we have testnet Kadena in out wallet, let’s visit the tokenGo site and click on ‘Connect Wallet’, select ‘Ecko wallet’ then we sign with our wallet, click save and boom we are into it.
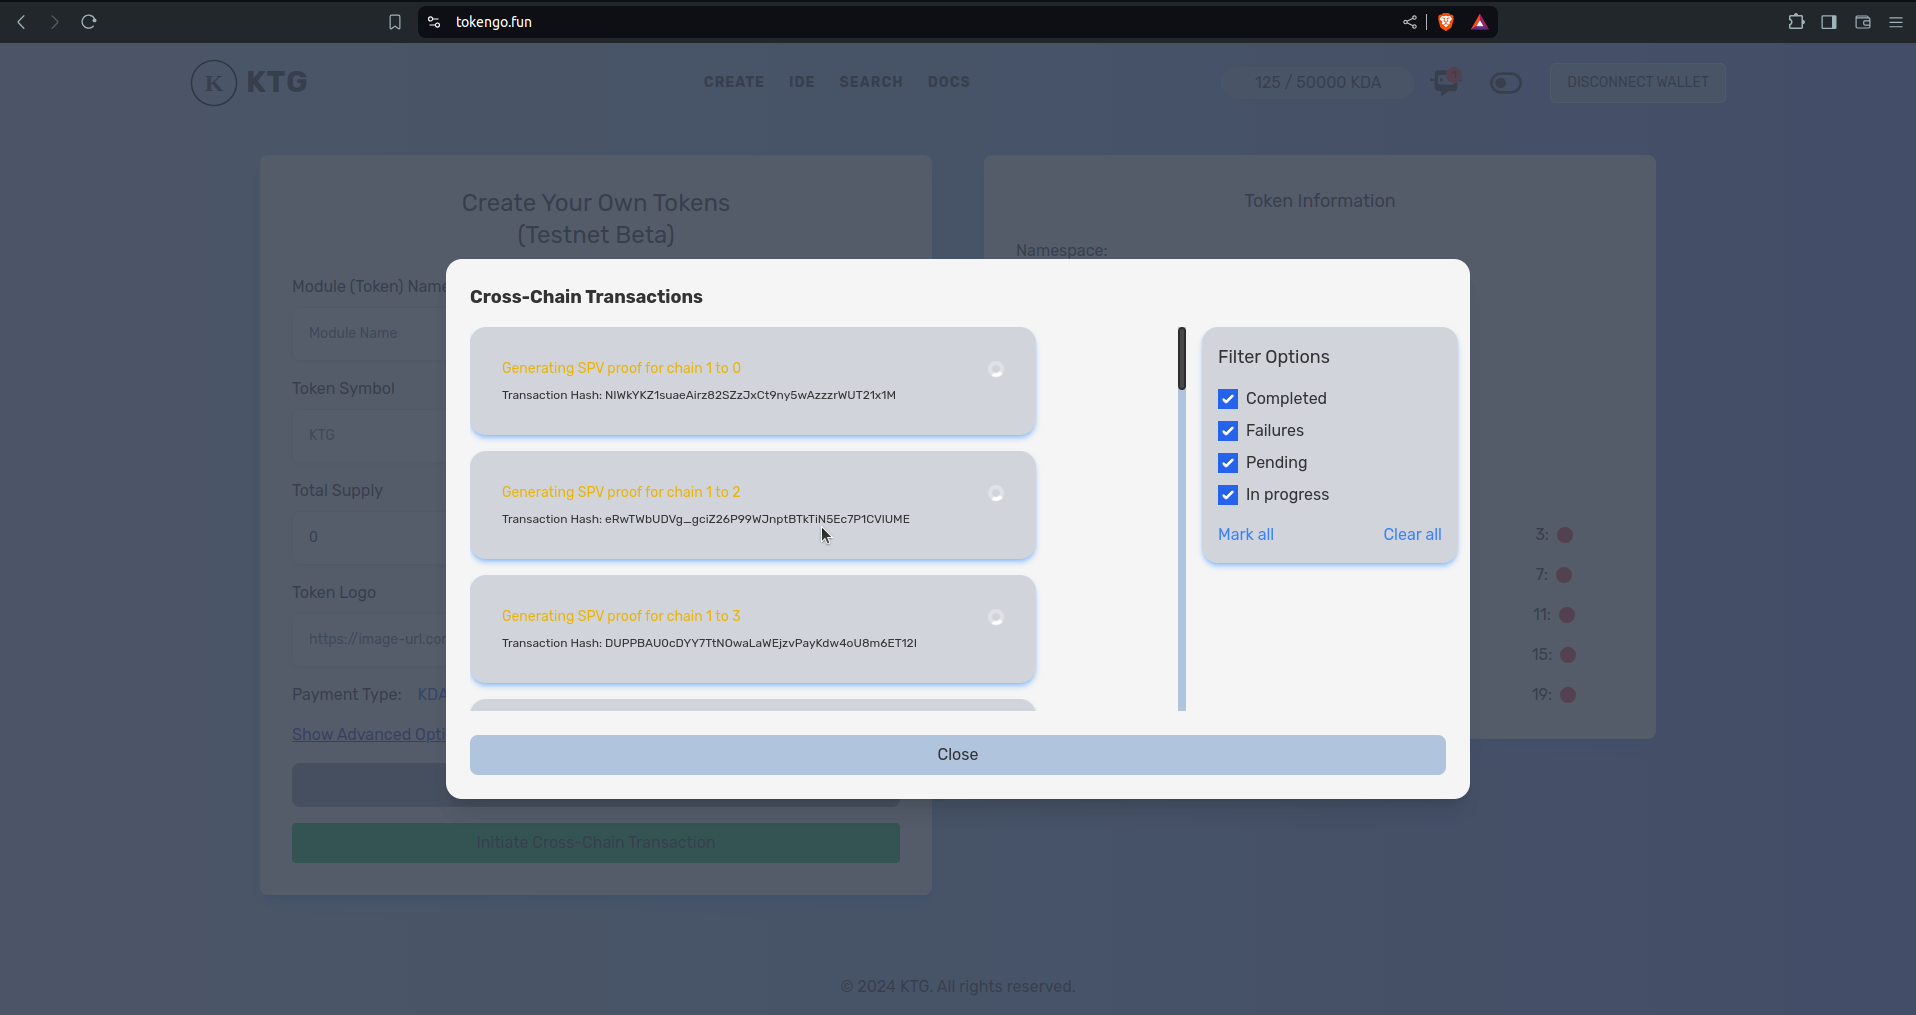
like me, if you are using a new wallet and followed our prerequisites, we shall see a green button “Initiate Cross-Chain Transaction” and all of the chain status will be red except chain 1, because we have test KDA on chain 1. As our wallet is new and we dont have KDA on all the chains, clicking it will automate the transation and will transfer KDA to all of them, now lets click and sign it with our wallet.
after signing the batch transactions we can see its processing, and here we need to wait for block confirmation, we also can close the window now.
after the transactions are processed, we now can see all the chains are showing green, this means we are now ready to generate our first token on Kadena Blockchain.
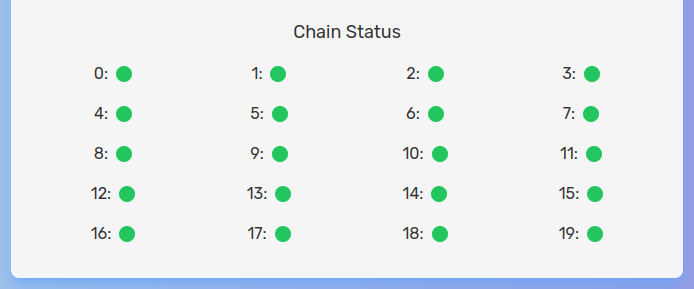
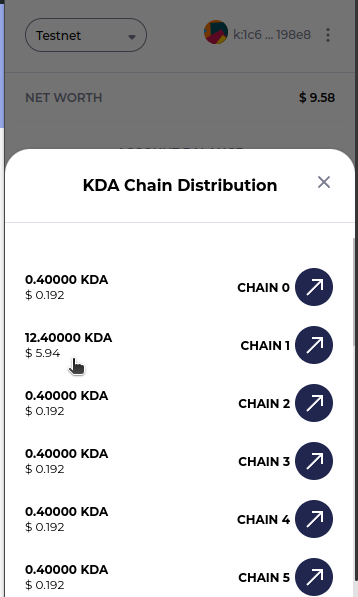
here we can see now our wallet have balance on all the chains, and Chain 1 still have 12.4 KDA, but we need atleast 15 KDA or 150,000 HERON to test the Token generator. For this walkthrough we shall use KDA to generate our token.
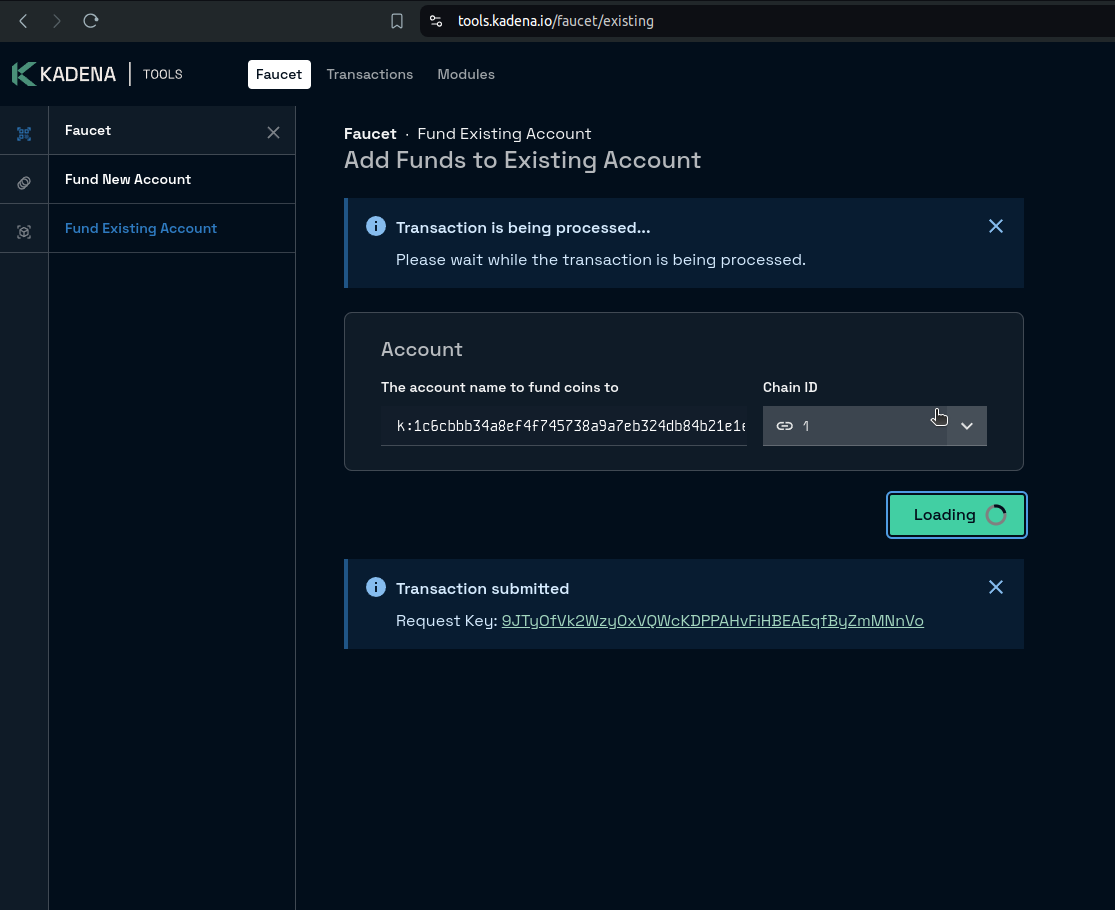
So, now again we are heading towards Kadena faucet and requesting 20 test KDA on chain 1. this time we dont need to delete the “k:” from our account name, we just paste our account name and clicking on “Fund 20 Coins”
Generating our first token
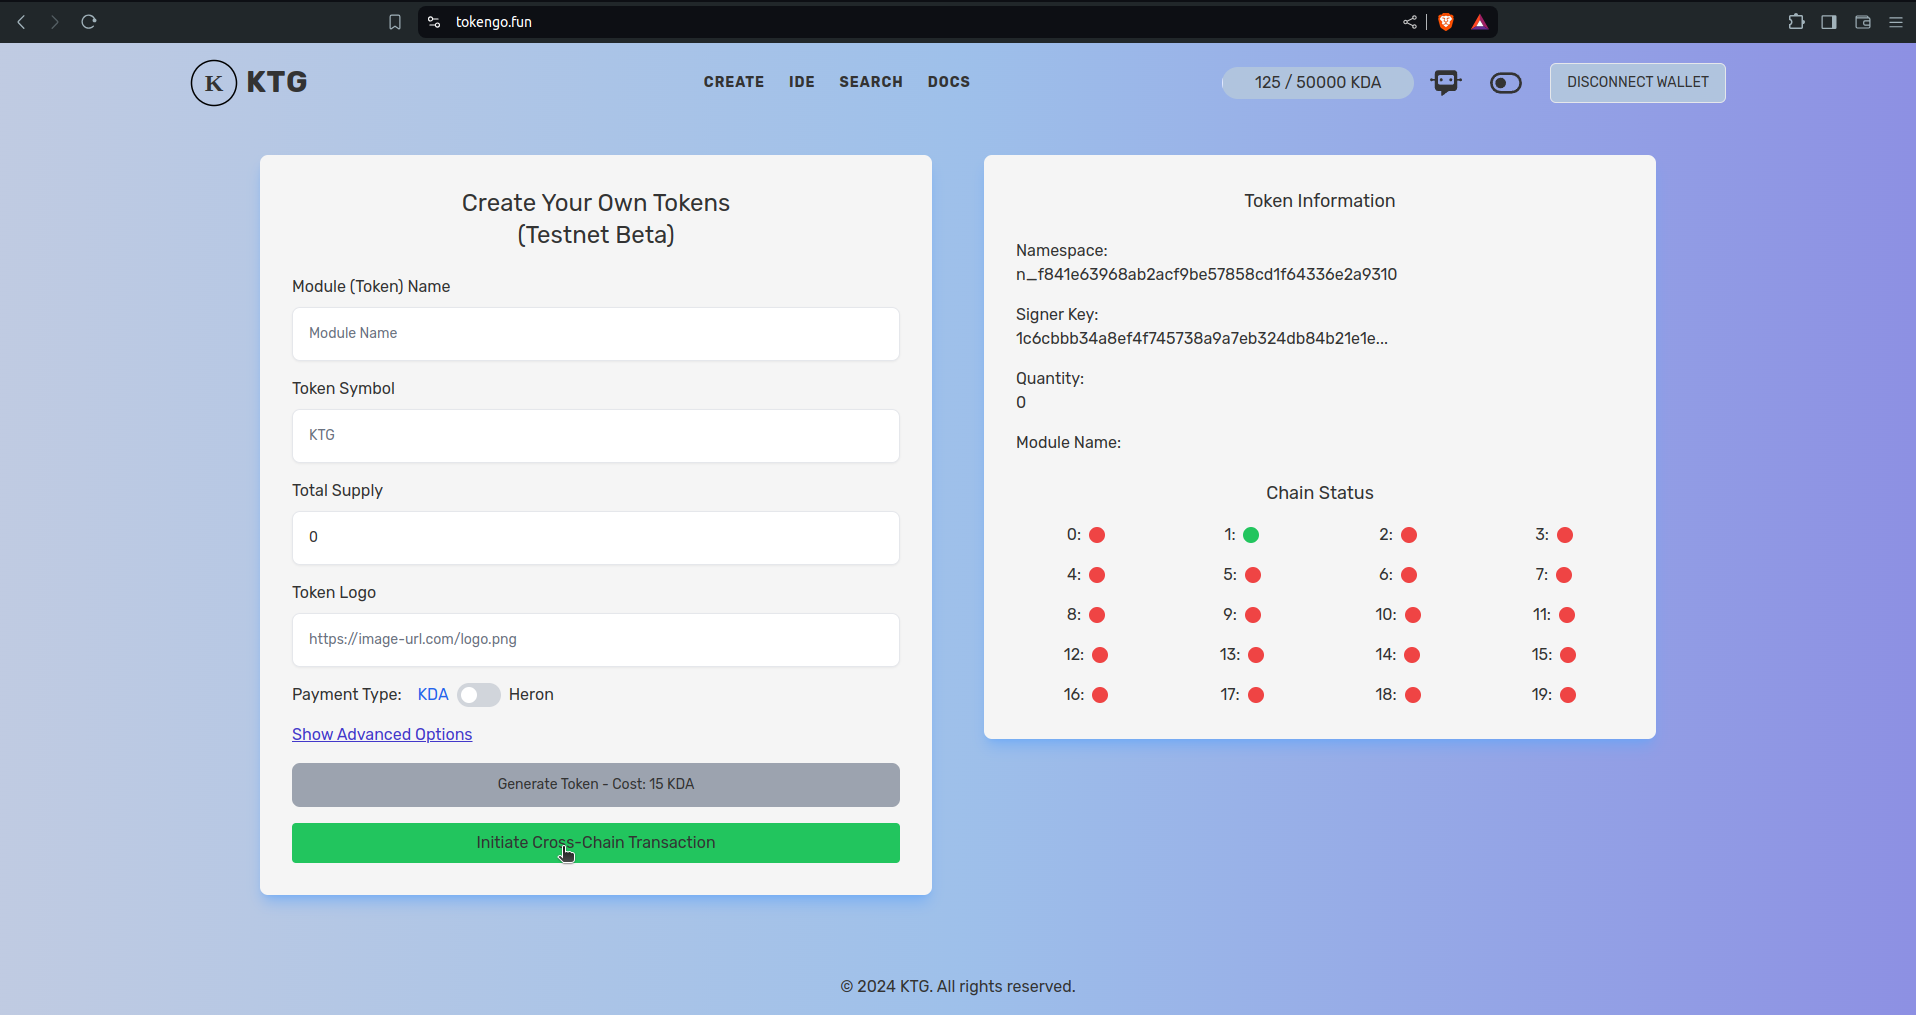
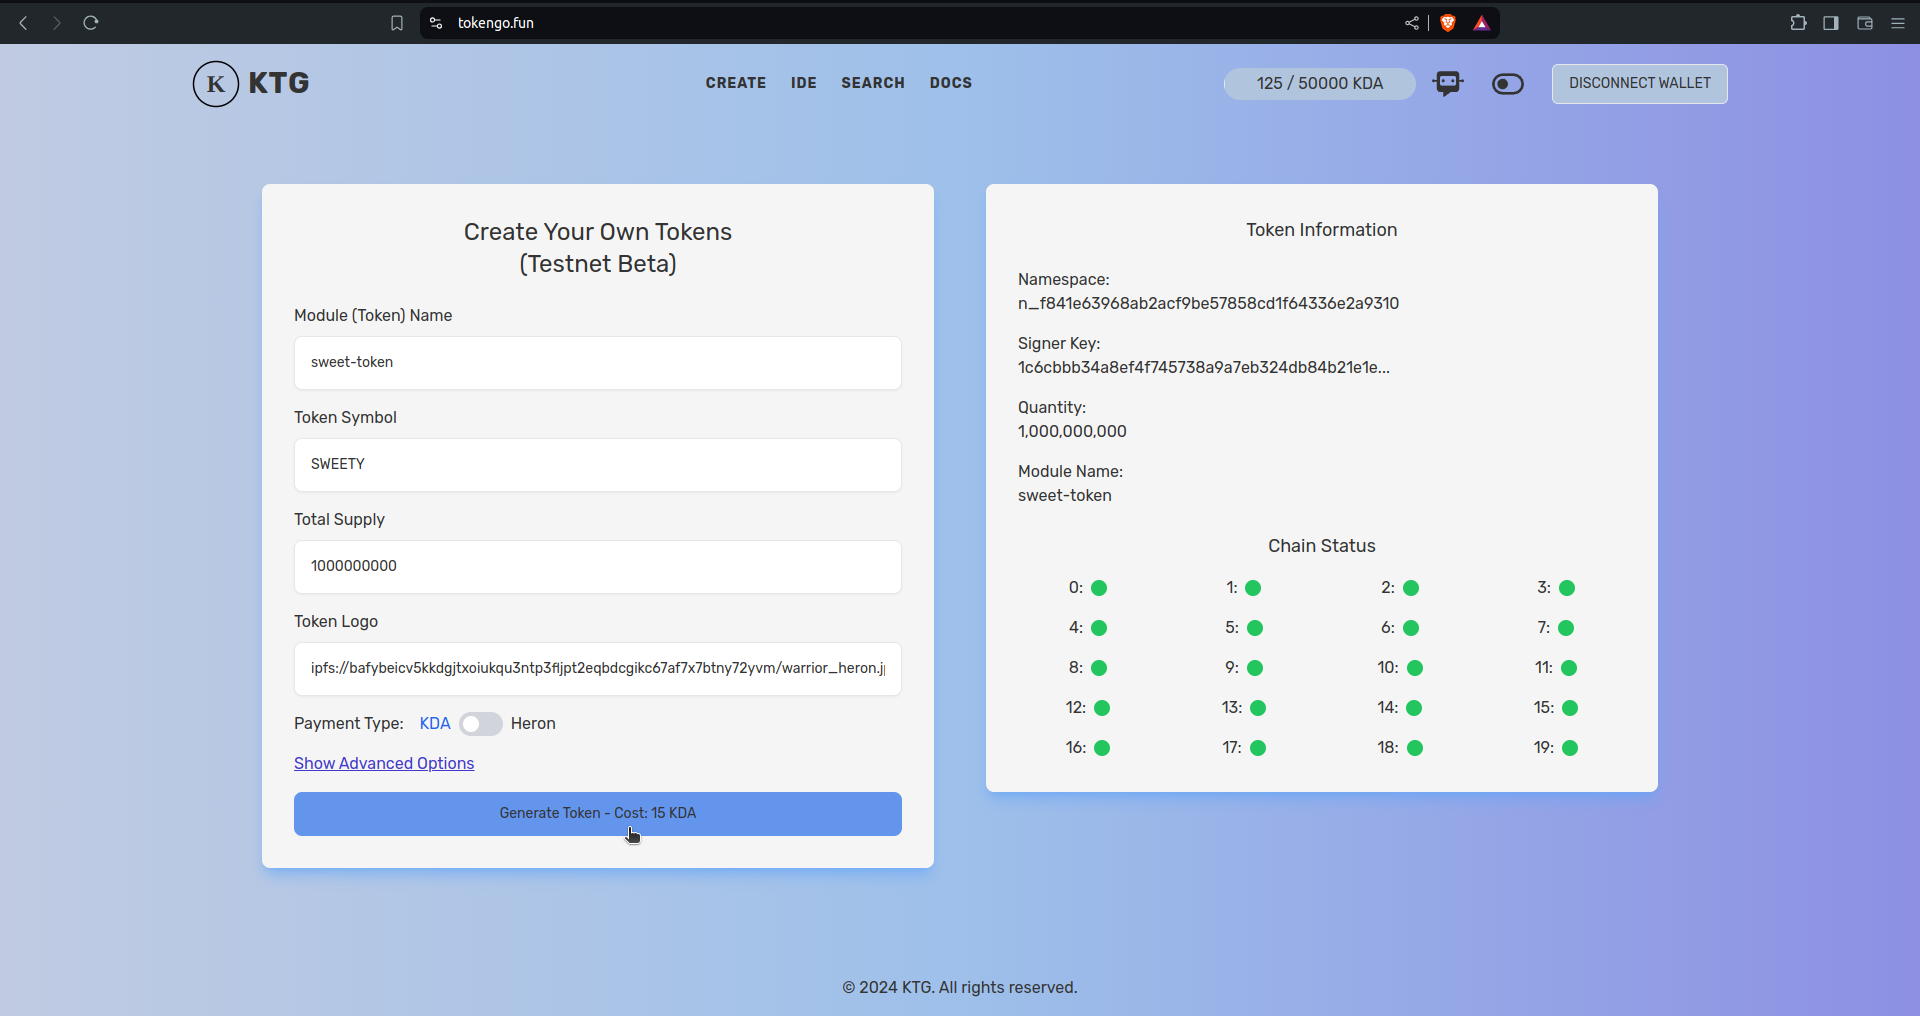
Now we have enough KDA to generate our first simple fungible token, we need to give it a name, in our case we are generating a sweet simple test token, so we are giving our
We can use KDA and HERON both here to generate our token, if we use KDA it will eventually convert to HERON and execute the transaction, and if we use HERON we can get a 5% discount on the generation fees. Anyways, we just selecting KDA and clicking on “Generate Token - Cost: 15 KDA”
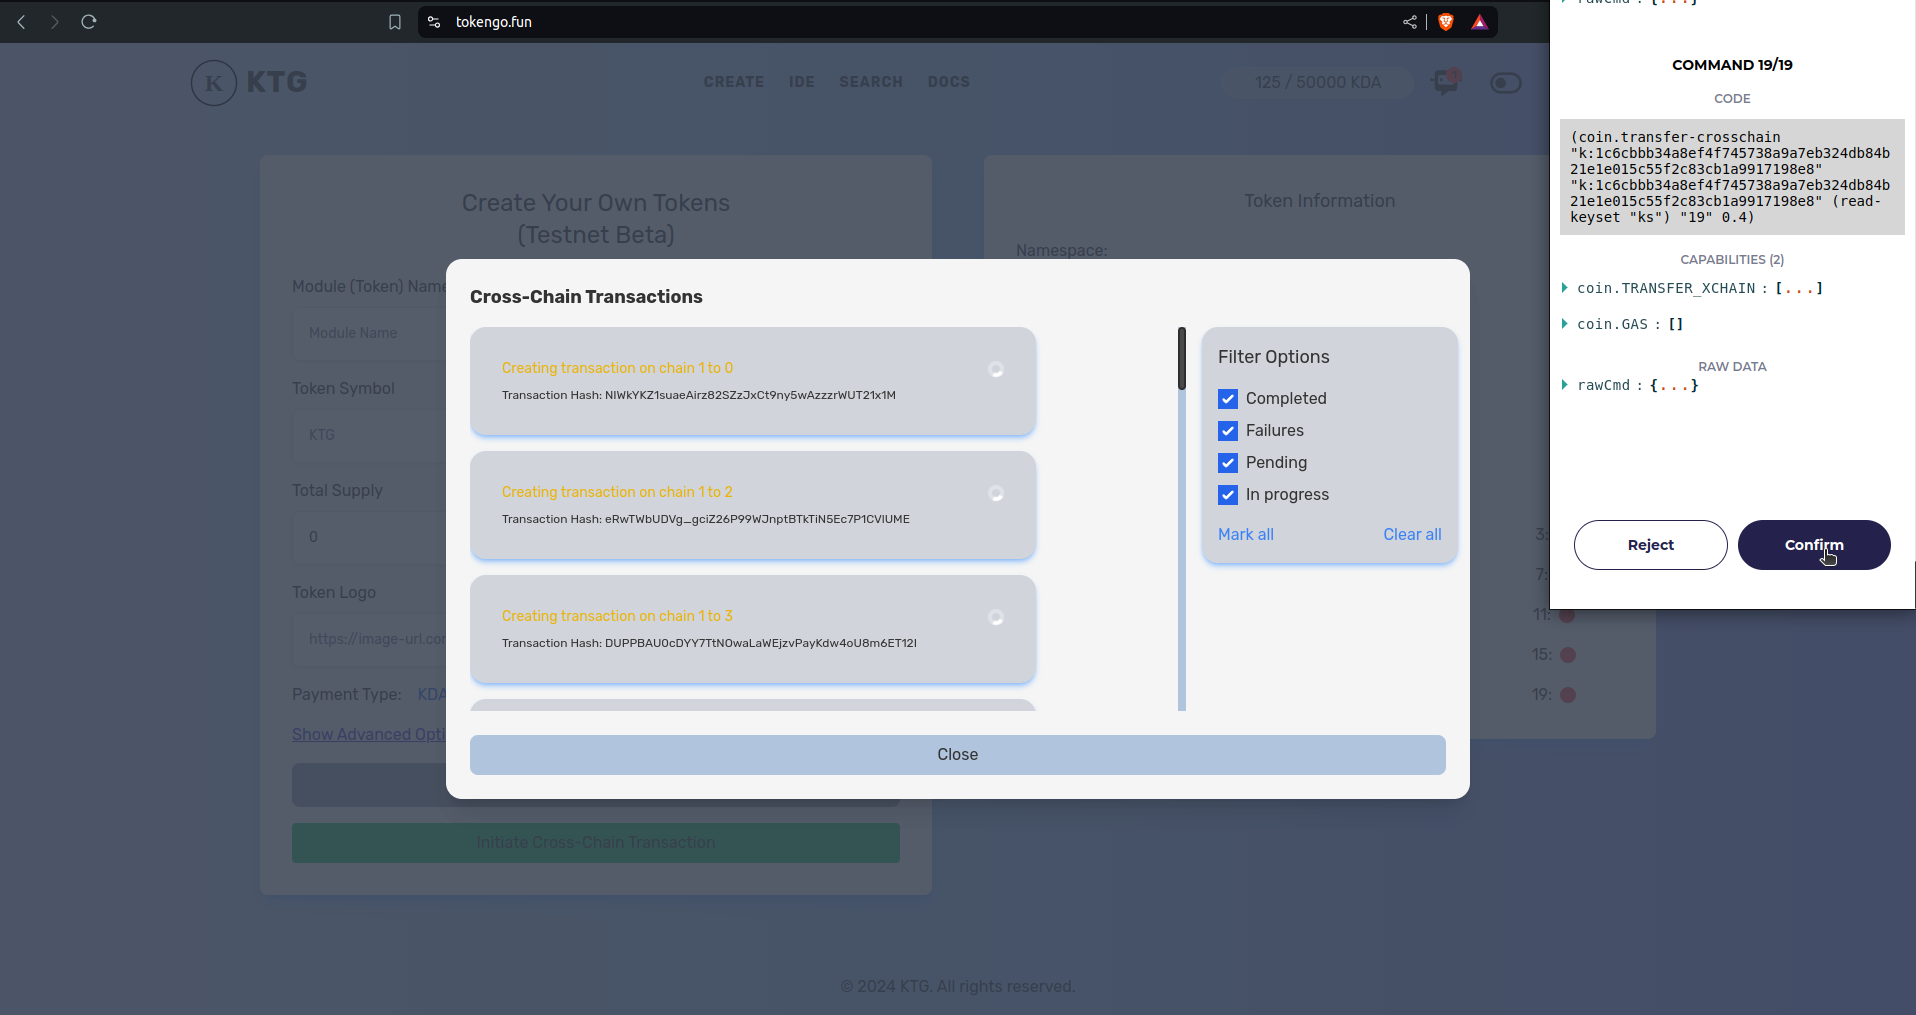
Now we can see the eckoWallet is popped up, and its showing all the commands to sign for the token generation, we scrolled to the bottom and clickd on “confirm” to submit the transaction. after submitting the transaction we need to wait for block confirmation.

after the block confirmations we shall see all the transactions completed and now our TokenGo generated SWEETY token is deployed to Kadena blockchain (testnet).

viewing our generated token in Ecko wallet
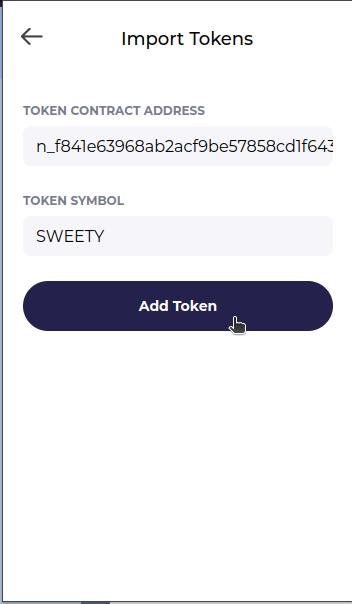
To view our token in the ecko wallet we need to add the contract address and SYMBOL of our token to eckoWallet by clicking on the plus (+) button in your eckoWallet.
this shall open a form to put our token contract address and token Symbol, now we add them and click on Add Token button.
after adding our token we can see our token symbol along with other tokens in the wallet and now we can see in our wallet we have 1 Billion SWEETY token.
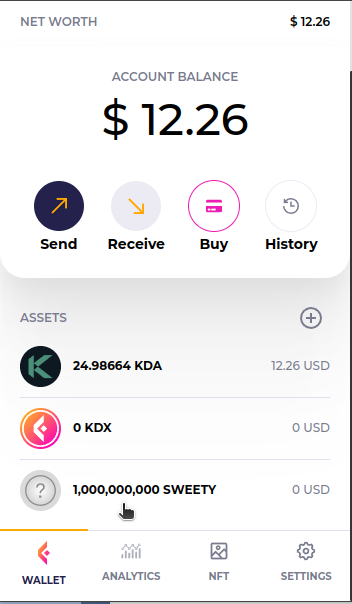
As we can see the tokens in our wallet, now its time to manage our newly created token.
Managing our token
Now as our simple token is generated, we now can set dex pair, get dex pair and also can set Liquidity for the token to trade on the dex. lets get into them one by one.
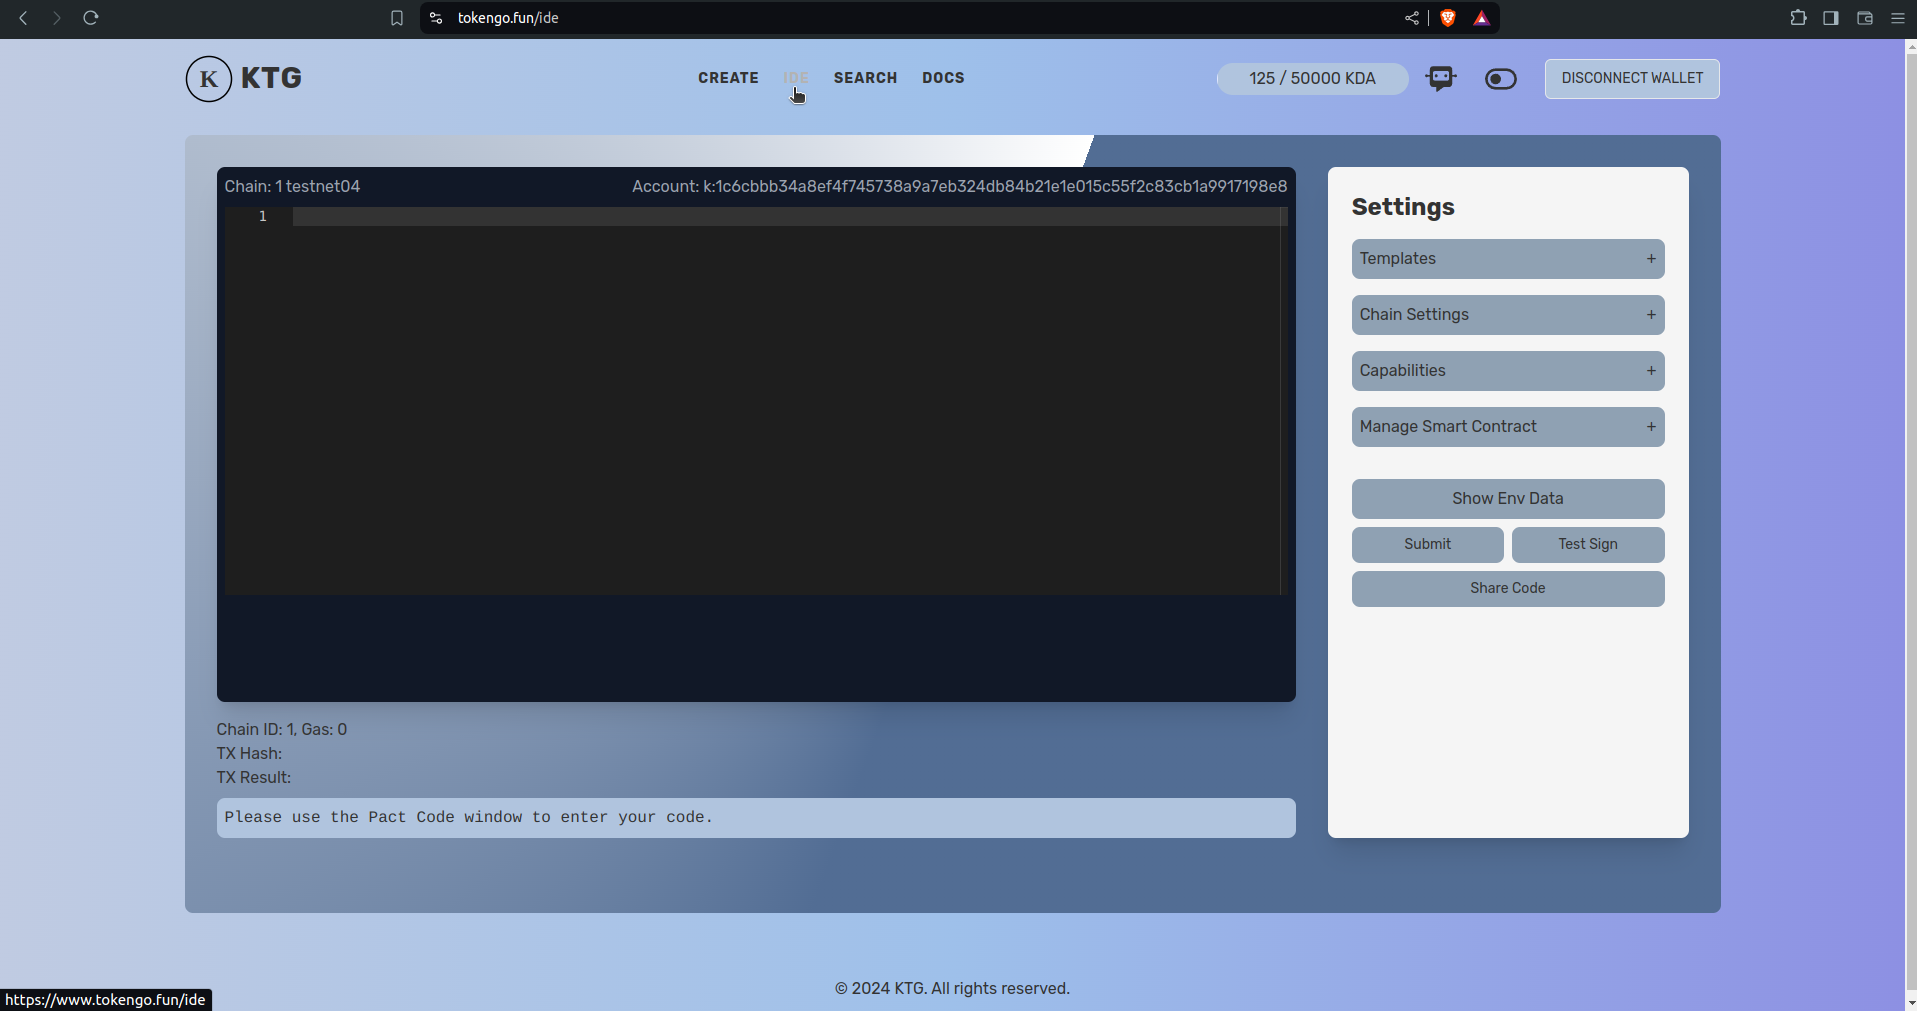
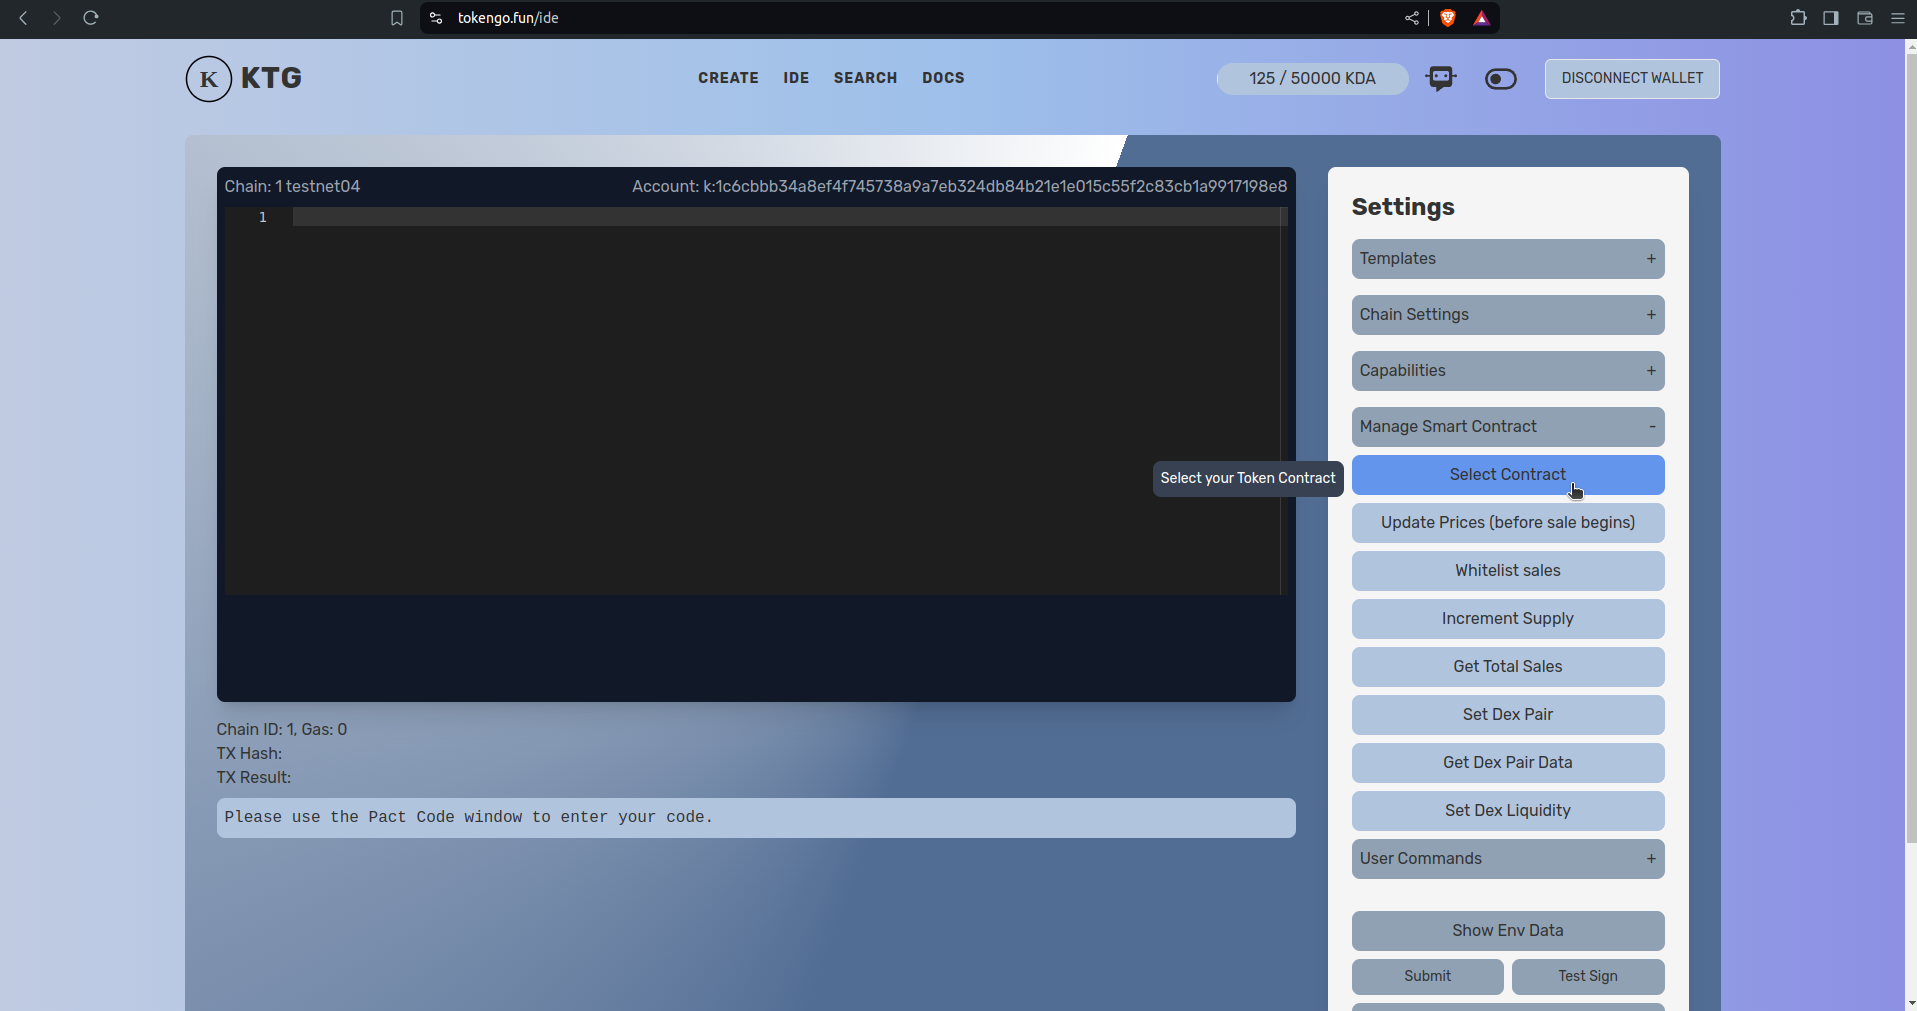
to manage our contract first we need to select our contact, for that we shall click on “Manage Smart Contract” in the right side settings panel, then we can see some options to manage smart contracts. We should click on “Select contract”.
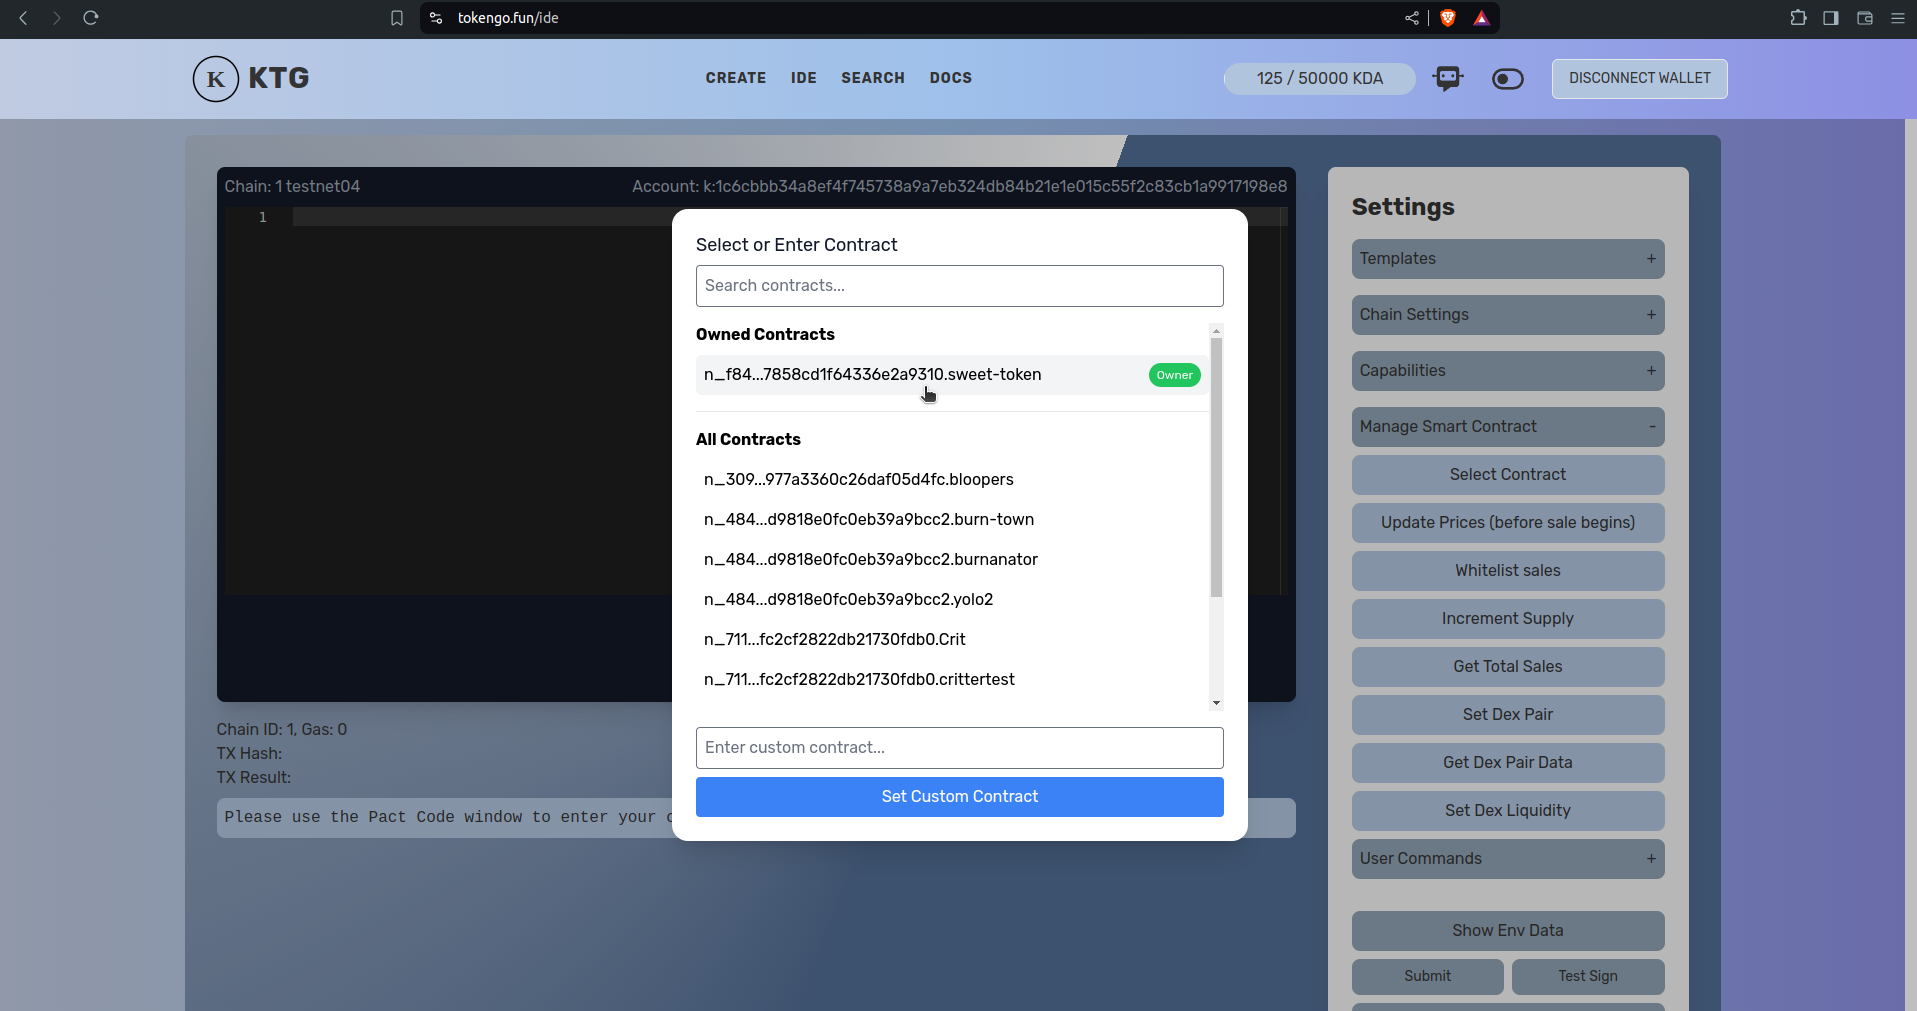
we now can see a modal to search for smart contracts, also we can see our newly generated token contract highlighted with green colour and its indicating that we are the owner of the smart contract. we now shall select our token by clicking on it.
after selecting our token, we now can see our token address is showing under Manage Smart Contract. Now we are ready to manage our smart contract.
Creating dex pair for our token
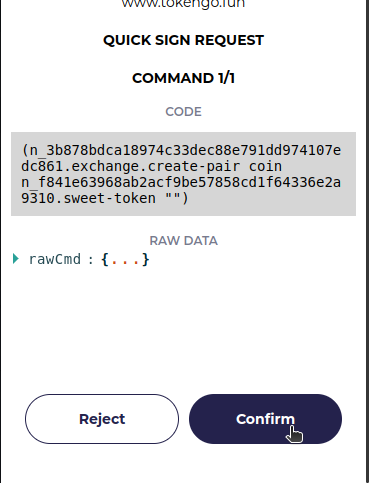
first we shall set a dex pair to trade on the dex, for that we are clicking on “Set Dex Pair” button.
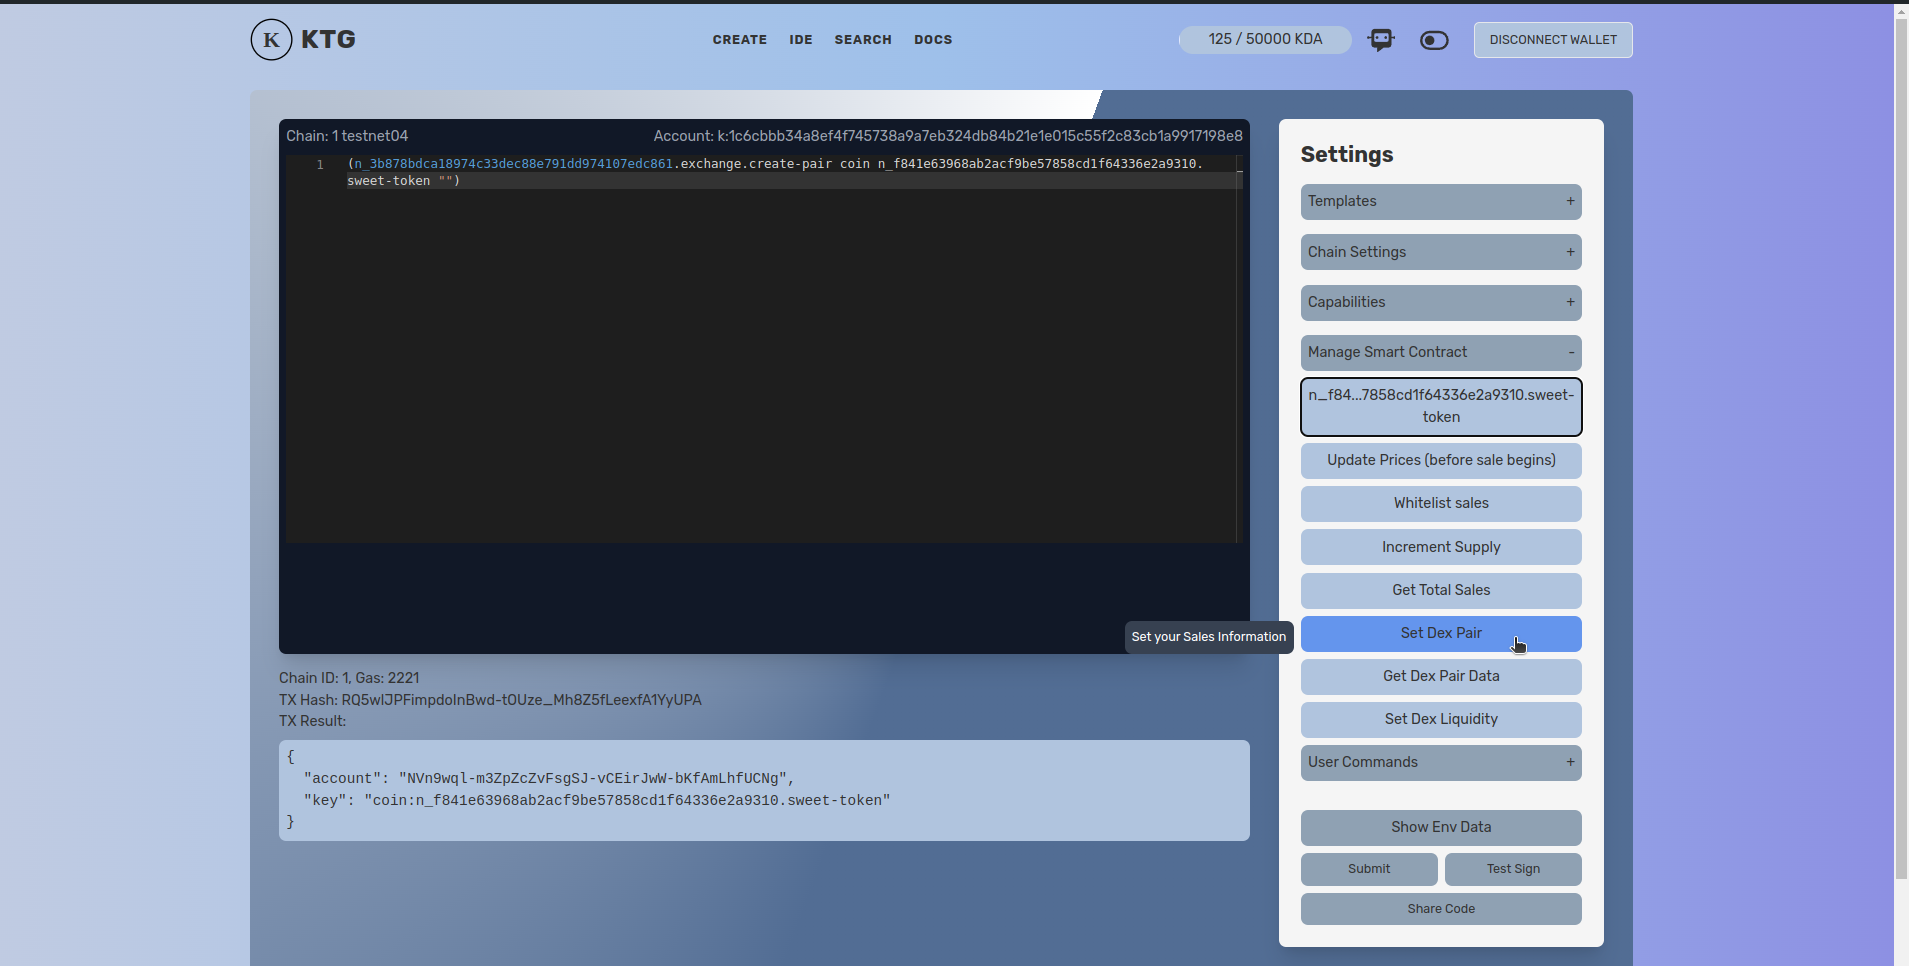
by clicking on set dex pair, we now can see pact command to create a dex pair on the pact window,
(n_3b878bdca18974c33dec88e791dd974107edc861.exchange.create-pair coin n_f841e63968ab2acf9be57858cd1f64336e2a9310.sweet-token "")
where
n_3b878bdca18974c33dec88e791dd974107edc861.exchange.create-pair
this is the pact command to create a pair on the dex
coin
this the the quote currency we are wishing to make pair with in our case its (KDA)
n_f841e63968ab2acf9be57858cd1f64336e2a9310.sweet-token
and this is our sweet-token contract address.
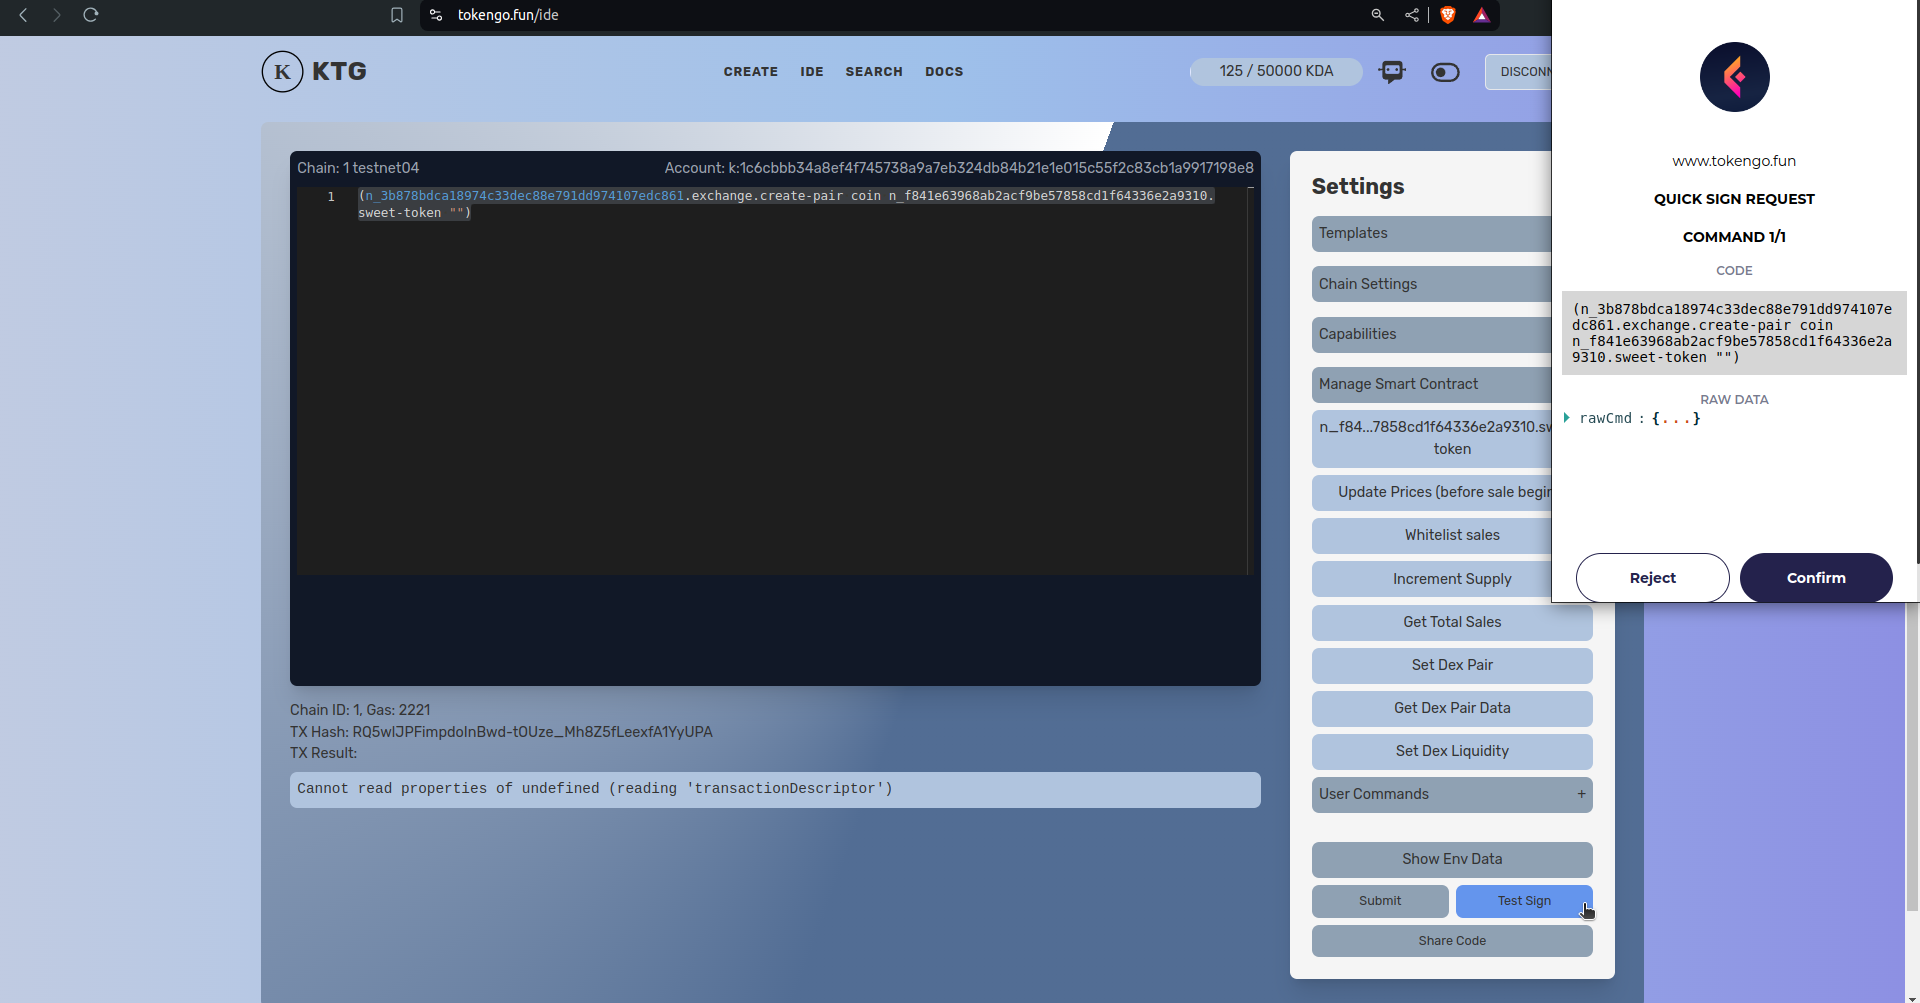
now as we are keeping it simple for the first time, we now click on “Test sign” to see our wode is working as intended, it will open our wallet to test sign the command
as we can see it is working fine, next we shall click on the submit button and confirm in our wallet to submit the transaction to the blockchain.
after confirming with our wallet it will sumbit the transaction and give us request key
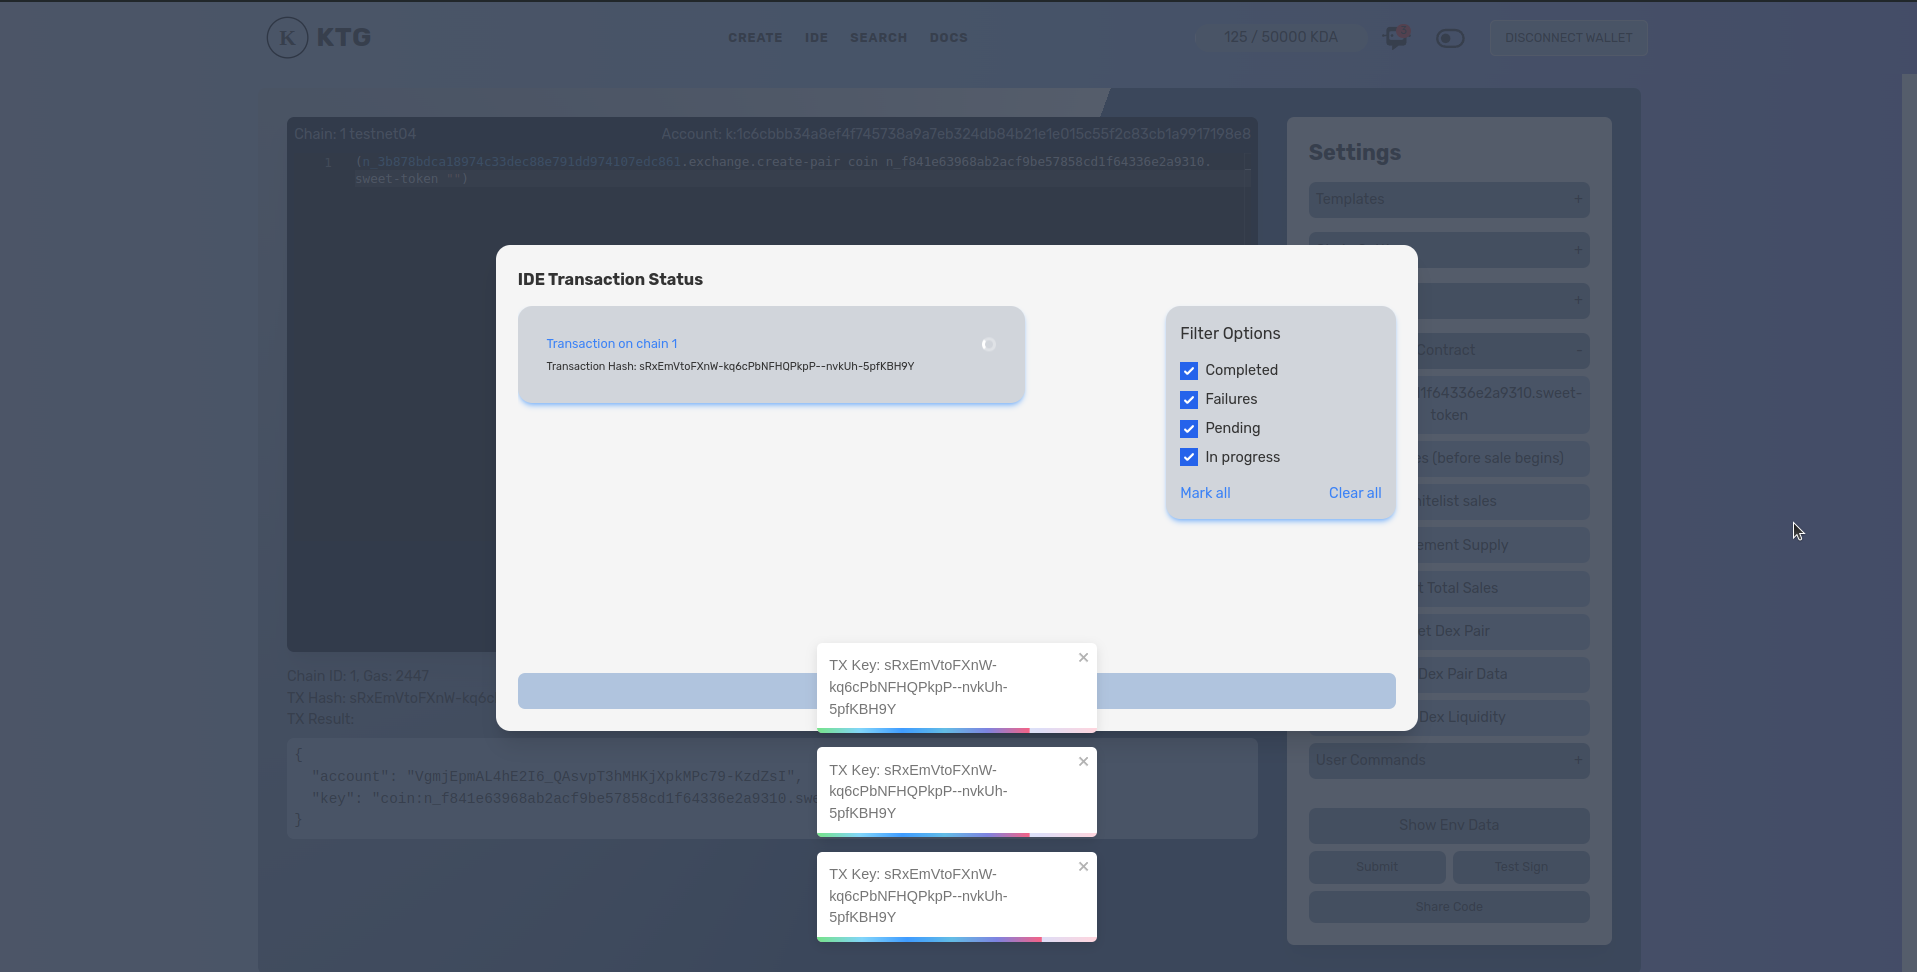
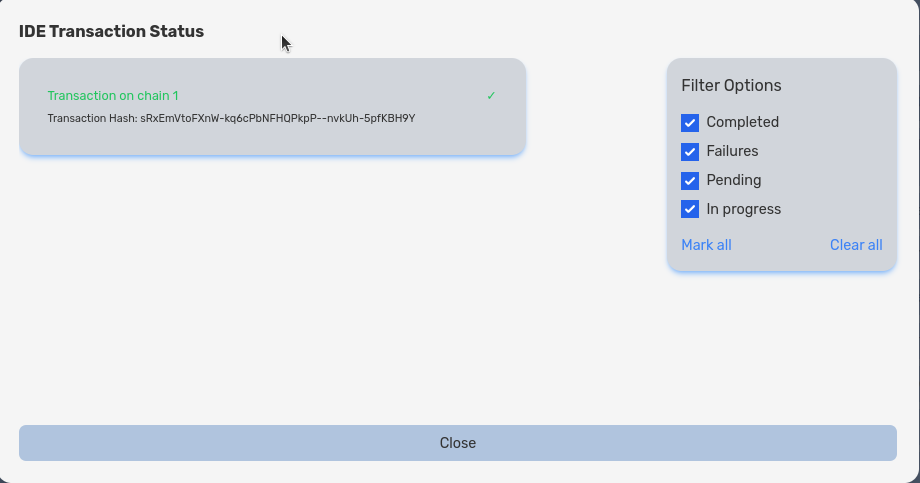
just a few moments and the transaction get confirmed by the blockchain. Now we successfully created dex pair for our newly created token.
next we are going to check the dex pair data we just created.
Getting data of dex pair for our token
to get data of dex pairs for our token, we click on “Get Dex Pair Data”
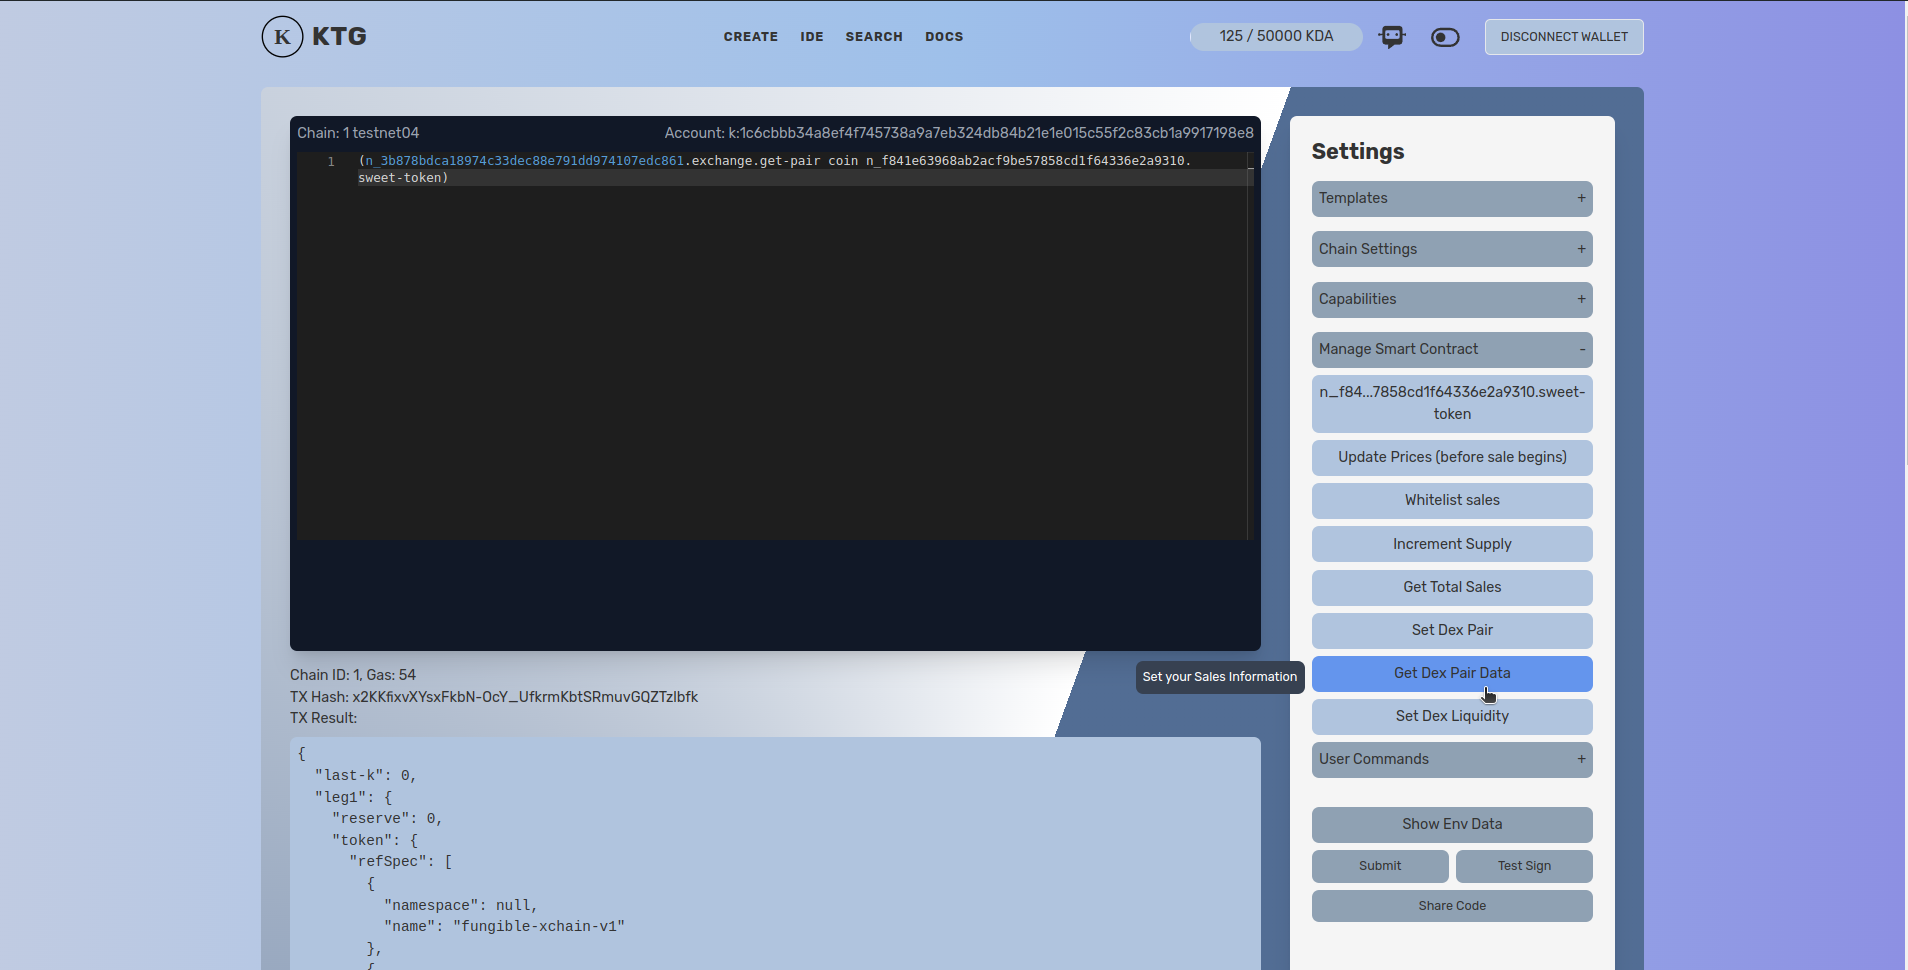
after clicking, in the pact window we can see there is again a code
(n_3b878bdca18974c33dec88e791dd974107edc861.exchange.get-pair coin n_f841e63968ab2acf9be57858cd1f64336e2a9310.sweet-token)
this code is pact function to to get pair details of the dex
below the code we also can see
TX Hash: x2KKfixvXYsxFkbN-OcY_UfkrmKbtSRmuvGQZTzlbfk
which is the generated transaction hash, also we can see
Tx Results
{
 "last-k": 0,
 "leg1": {
   "reserve": 0,
   "token": {
     "refSpec": [
       {
         "namespace": null,
         "name": "fungible-xchain-v1"
       },
       {
         "namespace": null,
         "name": "fungible-v2"
       }
     ],
     "refName": {
       "namespace": "n_f841e63968ab2acf9be57858cd1f64336e2a9310",
       "name": "sweet-token"
     }
   }
 },
 "fee-account": "fyhk3TyfP7NRMBBCNRi5ePKFV0x4zRzXE89T6STZeto",
 "locked": false,
 "guard": {
   "args": [],
   "fun": "n_3b878bdca18974c33dec88e791dd974107edc861.exchange.enforce-null"
 },
 "account": "VgmjEpmAL4hE2I6_QAsvpT3hMHKjXpkMPc79-KzdZsI",
 "fee-guard": {
   "args": [
     "coin:n_f841e63968ab2acf9be57858cd1f64336e2a9310.sweet-token"
   ],
   "fun": "n_3b878bdca18974c33dec88e791dd974107edc861.exchange.enforce-fee-access"
 },
 "leg0": {
   "reserve": 0,
   "token": {
     "refSpec": [
       {
         "namespace": null,
         "name": "fungible-xchain-v1"
       },
       {
         "namespace": null,
         "name": "fungible-v2"
       }
     ],
     "refName": {
       "namespace": null,
       "name": "coin"
     }
   }
 }
}
this json is the data of dex-pair for KDA and our token, as we can see the data is containg the dex pair we just created, lets move forward to adding liquidity to our pair, so people can trade our token in the dex.
Adding Liquidity to our dex pair
First time we shall add initial liquidity of our token, so that it can be traded in the dex with a ratio for our pair.
for that first we click on “Set Dex Liquidity” button, and it will open a modal to set initial liquidity for our dex pair
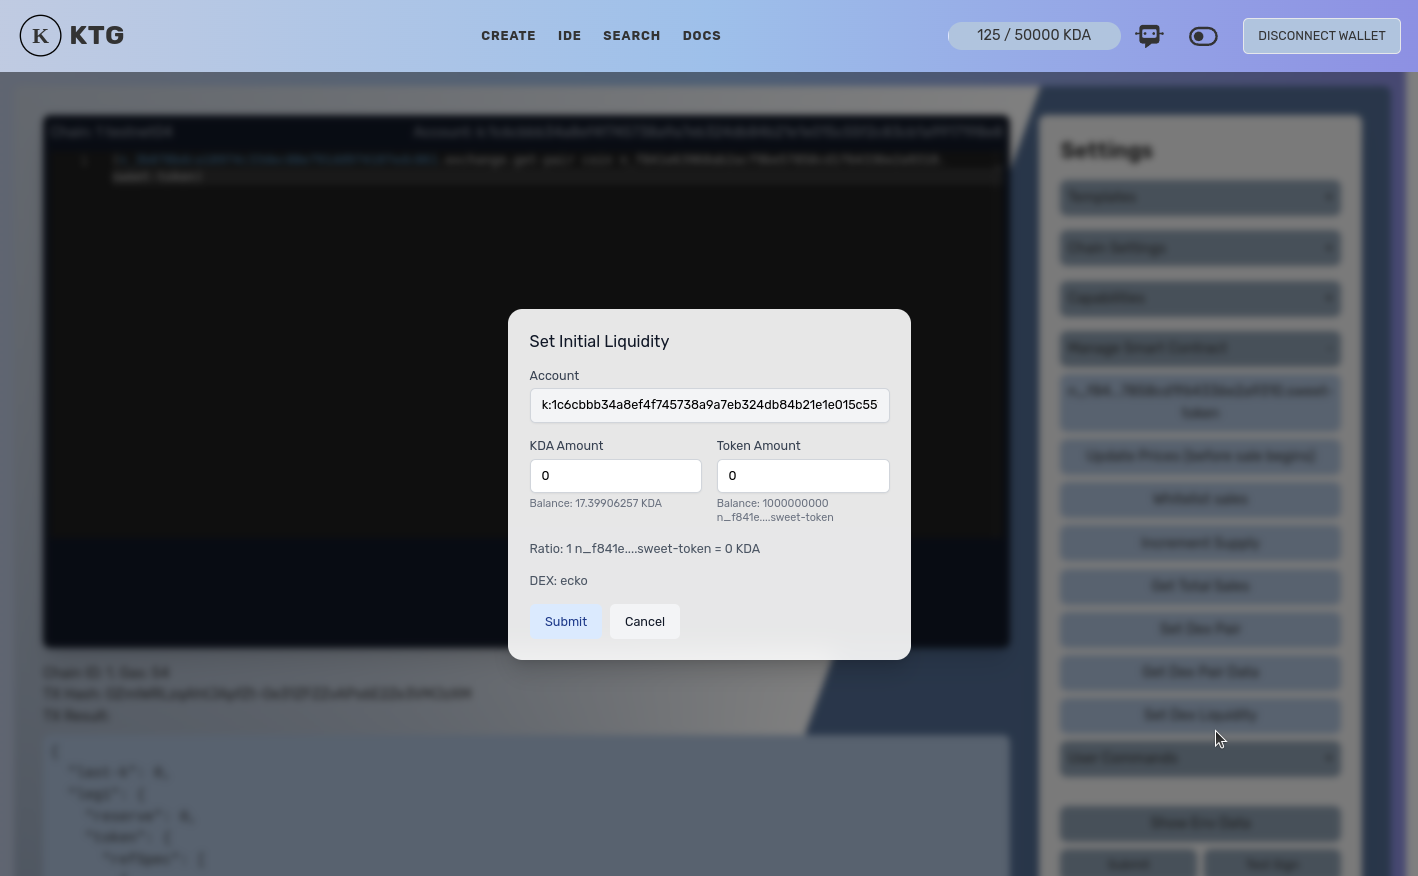
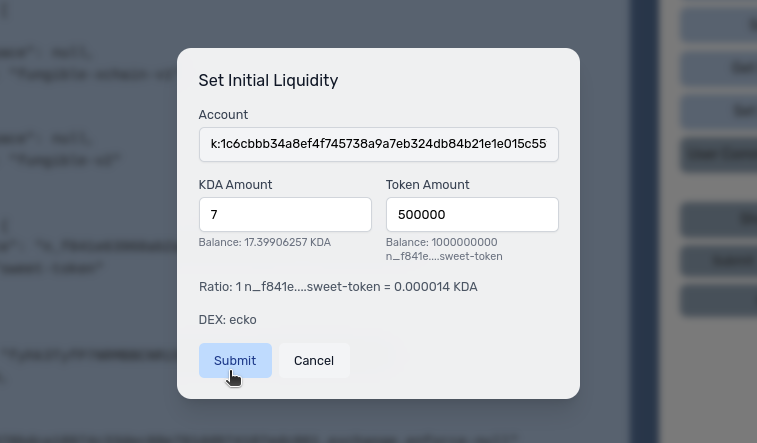
now we shall add KDA amount and our token amount to add liquidity for our pair, we are giving 7 kda and 500K token for liquidity(you can set liquidity in whatever ratio you want). then we shall click on Submit Button.
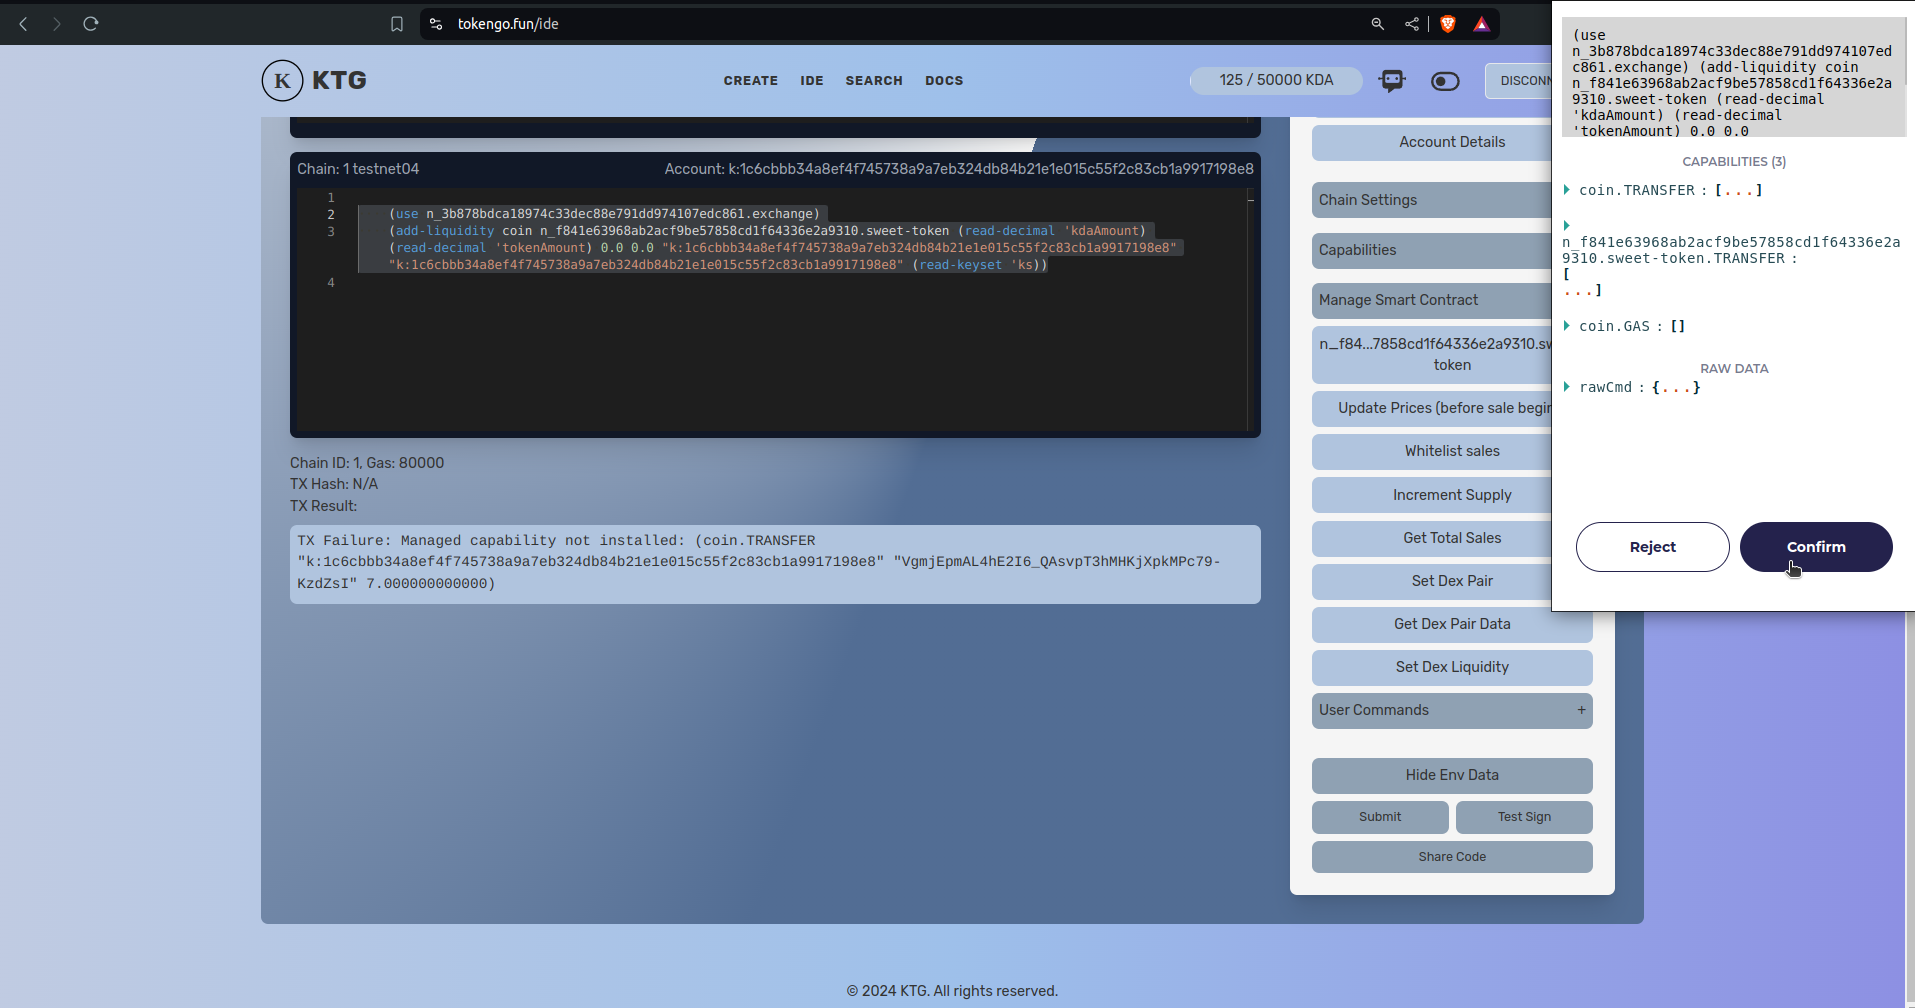
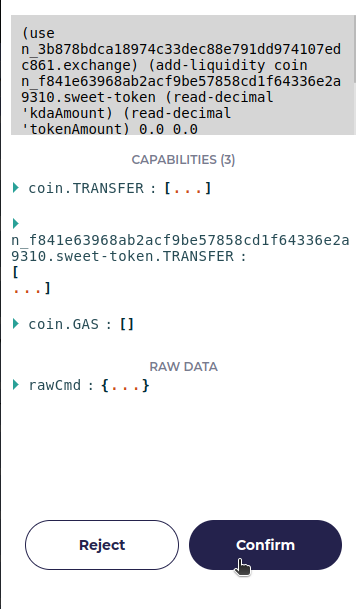
after clicking on submit, we now can see code in our pact window
(use n_3b878bdca18974c33dec88e791dd974107edc861.exchange)
(add-liquidity coin n_f841e63968ab2acf9be57858cd1f64336e2a9310.sweet-token (read-decimal 'kdaAmount) (read-decimal 'tokenAmount) 0.0 0.0 "k:1c6cbbb34a8ef4f745738a9a7eb324db84b21e1e015c55f2c83cb1a9917198e8" "k:1c6cbbb34a8ef4f745738a9a7eb324db84b21e1e015c55f2c83cb1a9917198e8" (read-keyset 'ks))
this is the code to add liquidity for our pair, now if we need to see the env data or do changes in the ratio we can click to “Show Env Data” in the settings panel, it will show the env data in our pact window

next, we are going to test sign the command to see if everything is working fine.
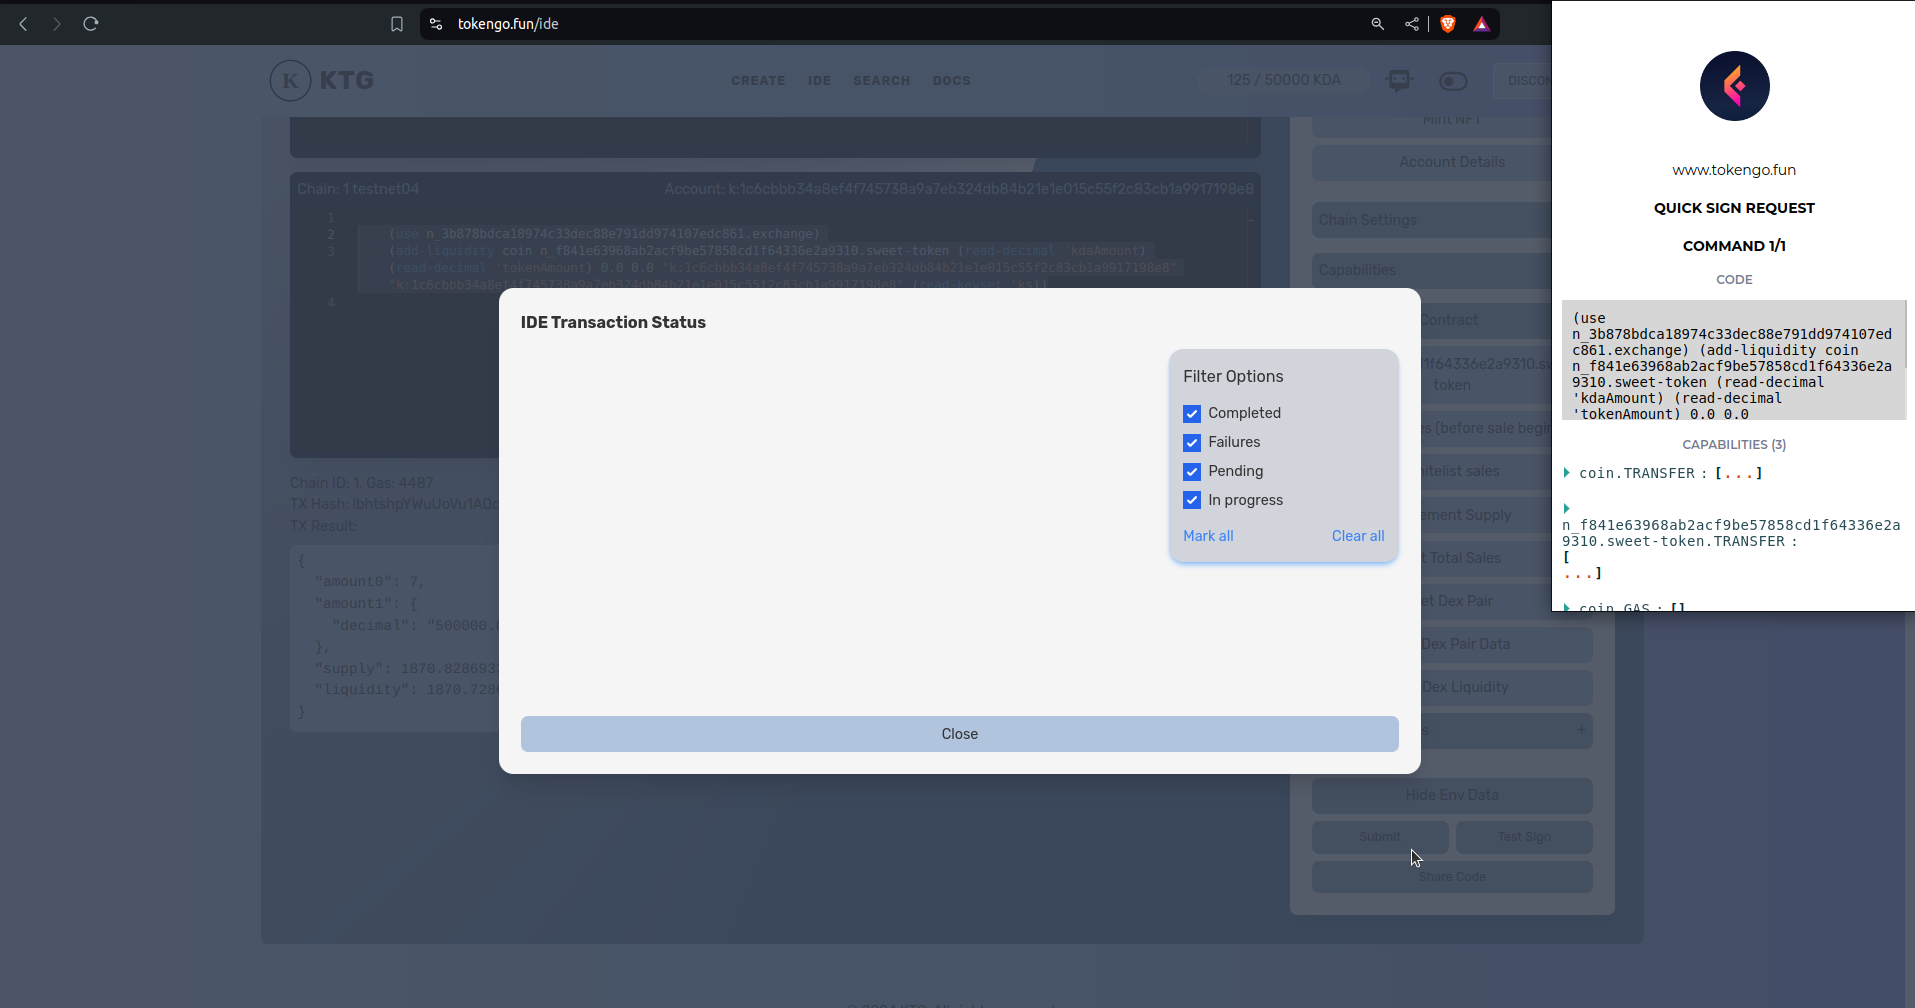
after signing the command with our eckoWallet, we can see
{
  "amount0": 7,
  "amount1": {
   "decimal": "500000.000000000000"
   },
 "supply": 1870.82869338697,
 "liquidity": 1870.72869338697
}
it seems our transaction is going to be successfull, now lets Submit the transaction by clicking on the submit Button
after clicking submit our wallet popped up and now we need to sign by clicking on confirm to submit the transaction to the blockchain
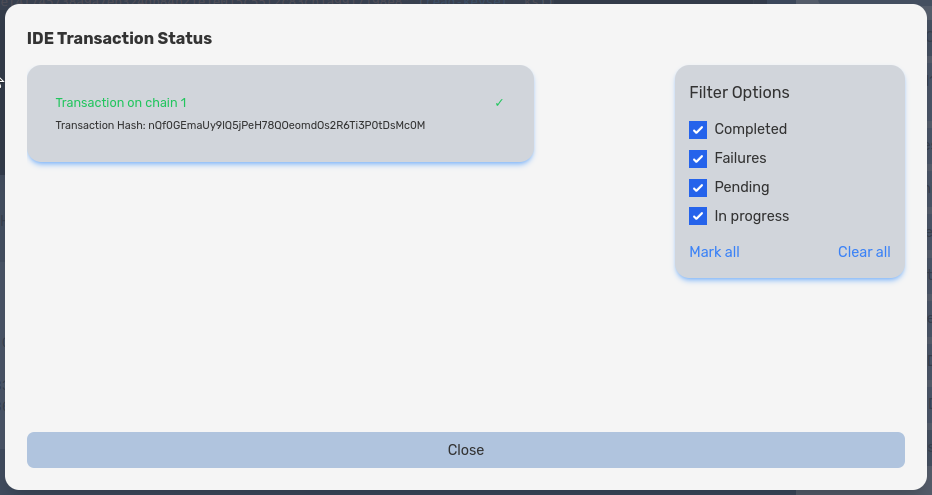
upon confirming it will submit the transaction and generate a request key, after block confirmation we can see our transaction is successfull and we successfully added liquidity in our dex pair.
Swapping our newly generateed token on the dex
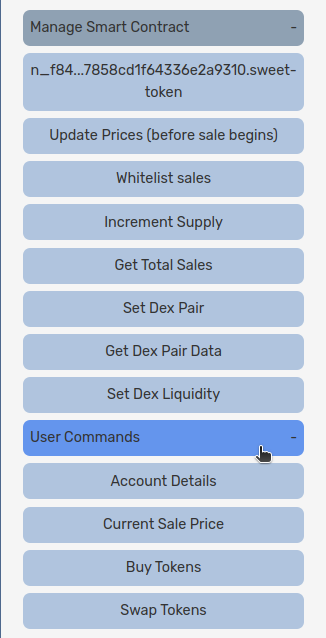
As now we have successfully added liquidity to our SWEETY/KDA pair, we now can swap one to another in our Dex. to do that, first we need to click on “User Commands” tab inside our manage smart contract menu, then we can see a option named “Swap Tokens”. we need to click there.
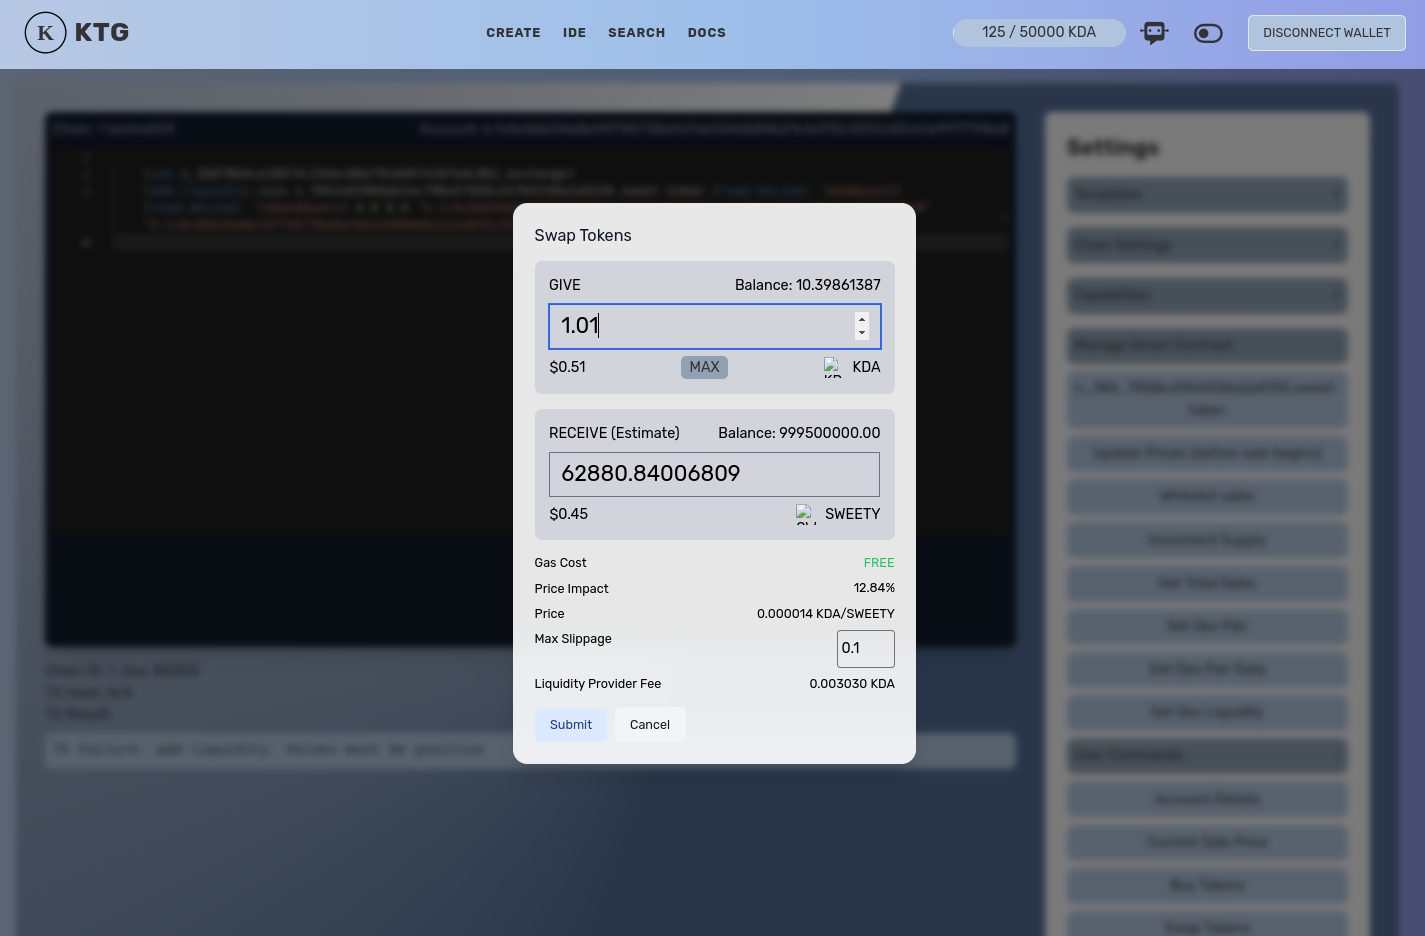
after clicking on swap token now a modal pops up infront of us to swap tokens, here we are giving 1.01 KDA and it is showing us that we shall receive estimated 62880 SWEETY tokens, now after checking it we hit the submit button.
after submitting the form we now can see PACT code to swap our tokens in the pact window.
(n_3b878bdca18974c33dec88e791dd974107edc861.exchange.swap-exact-in
(read-decimal 'amountKDA)
(read-decimal 'amountTokenWithSlippage)
[coin n_f841e63968ab2acf9be57858cd1f64336e2a9310.sweet-token]
"k:1c6cbbb34a8ef4f745738a9a7eb324db84b21e1e015c55f2c83cb1a9917198e8"
"k:1c6cbbb34a8ef4f745738a9a7eb324db84b21e1e015c55f2c83cb1a9917198e8"
(read-keyset 'ks))
now we need to test sign the transaction to see if everything is alright
after test sign we now can see our preflight transaction results
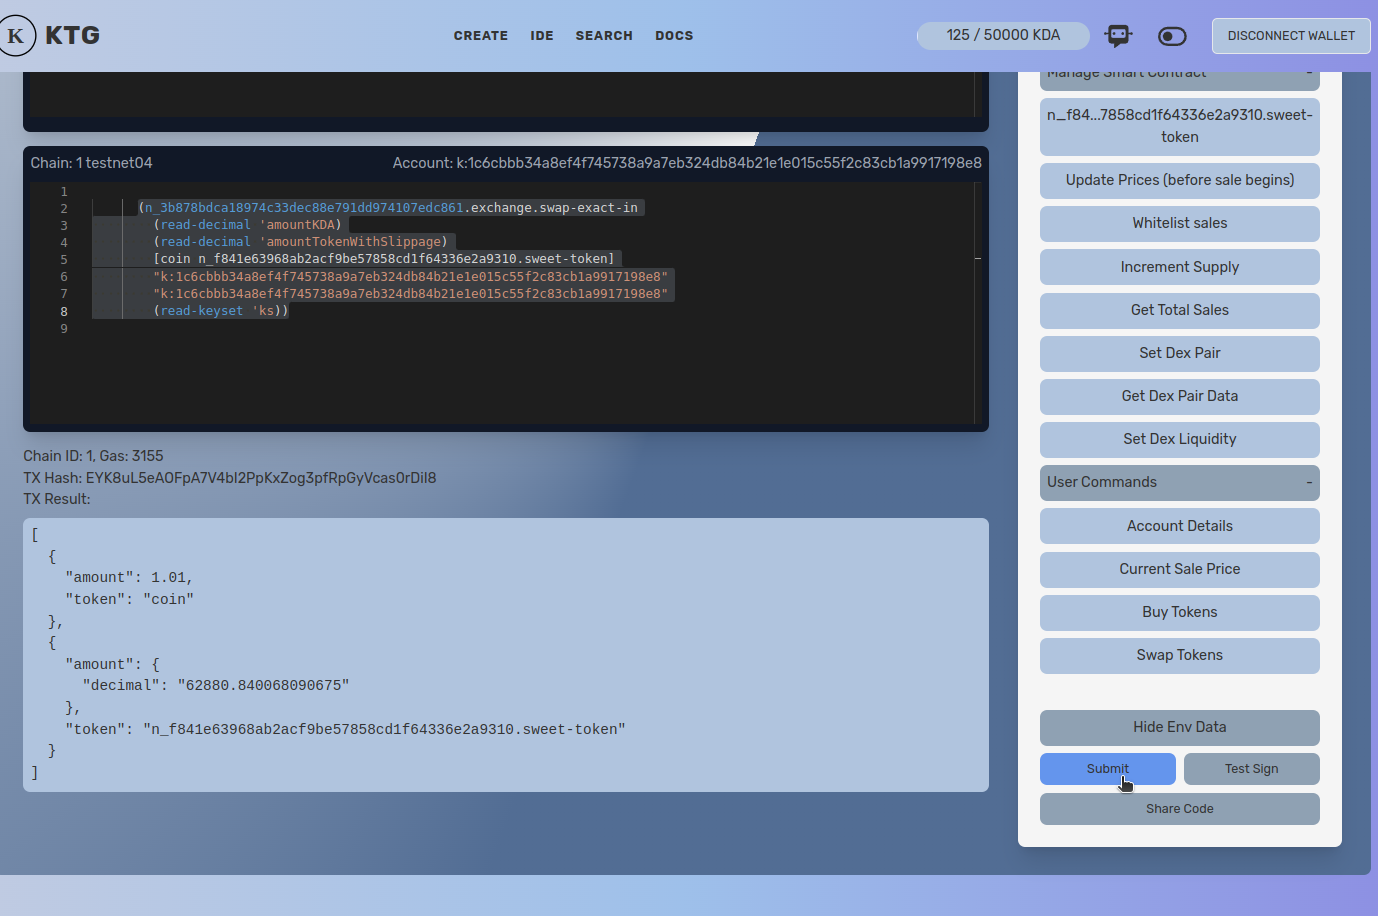
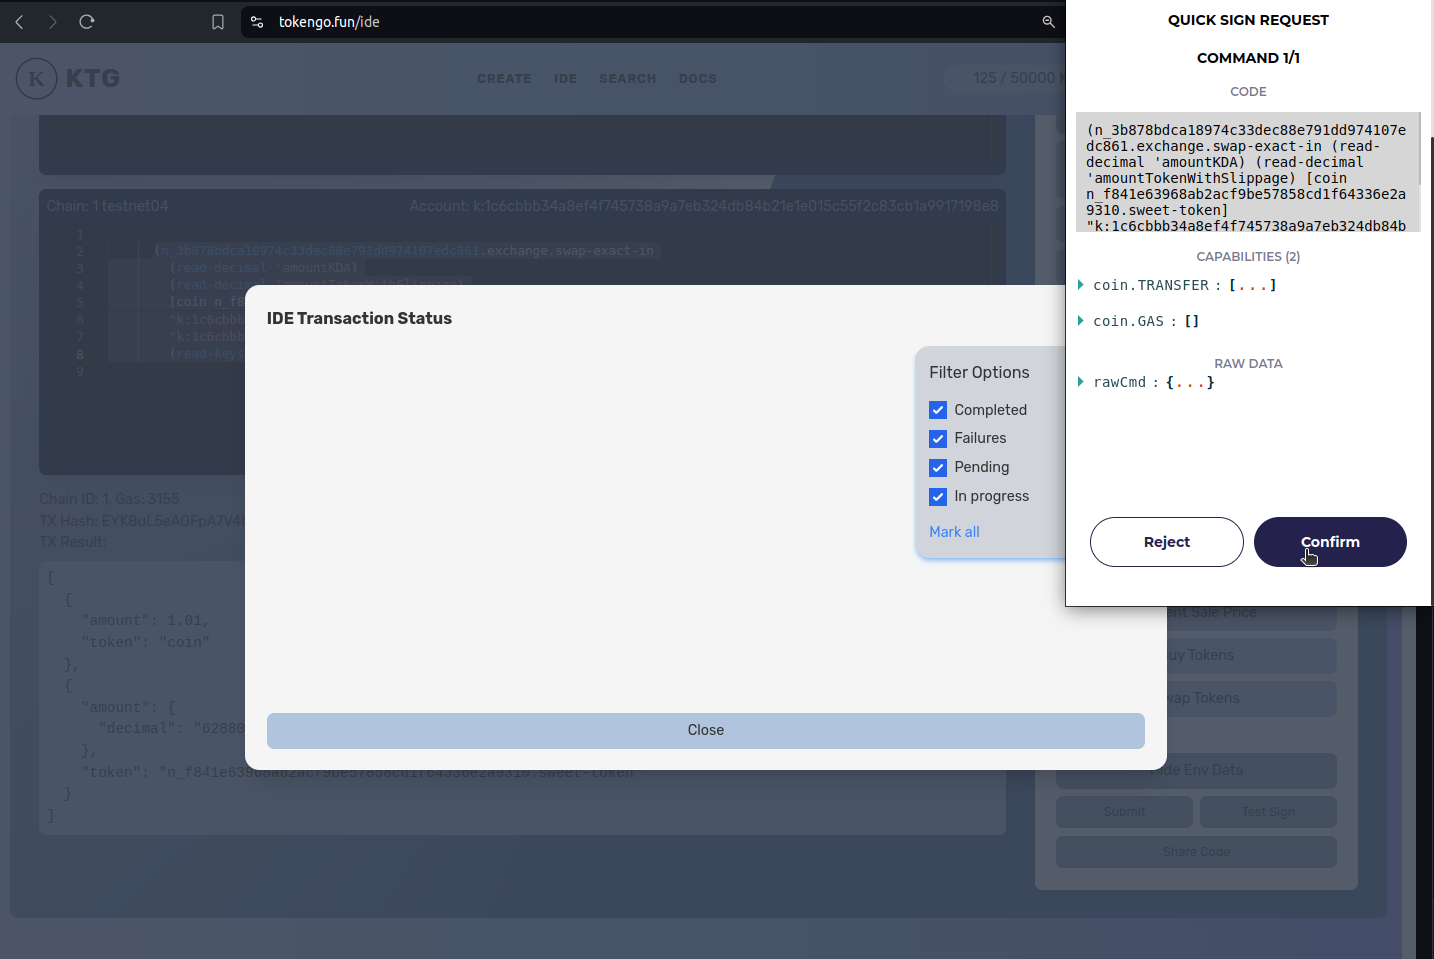
now as we can see our transaction, now we shall click on submit to Sign and send the transaction to the blockchain.
now lets confirm the transaction.
after confirming it gave us a transaction hash, upon block confirmation it becomes green and we successfully swapped kda for our TokenGo generated SWEETY token.
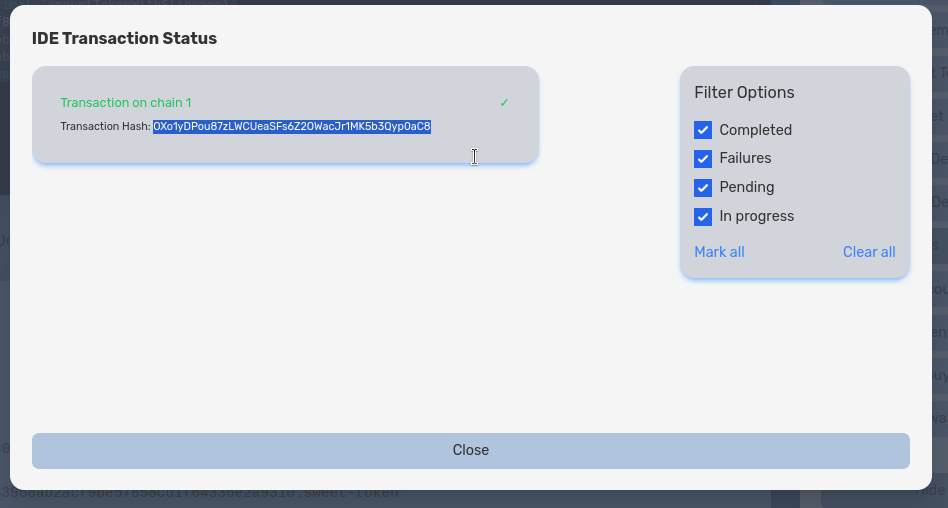
now, lets copy our transation hash check our transaction on kadena block explorer dont forget to set the network to testnet. thats all for now, keep exploring and have fun with tokengo.fun